Install the scan program for Pannoramic scanner
These
instructions describe the procedure to install the scan program “SlideScanner.exe”
on a computer with the operating system Windows® 7 x 64bit; used with the Pannoramic
scanner P250, SCAN,
MIDI or DESK!
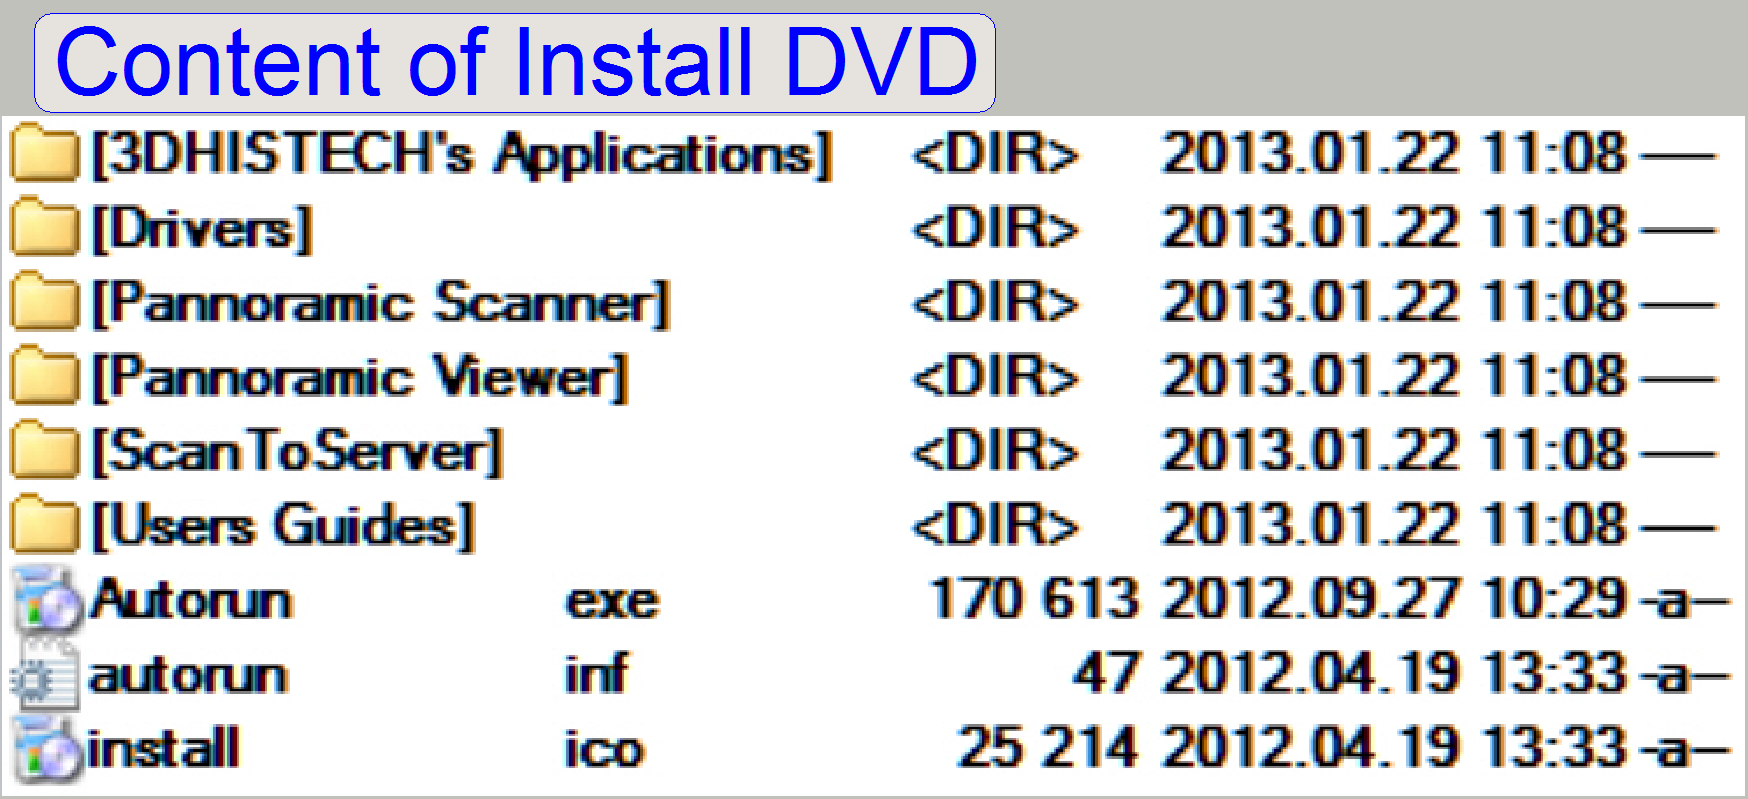
The shown
procedure is based on the install DVD of the software version 1.16; and is used
to install the program for:

· The scan procedure of slides (Scan
program)
· Hardware services and movement of the units (Service program)
Important
· The service program is also installed / copied during
the installation of the scan program; there are no explicit dialogues!
· The service program is protected by a license file
against unauthorized use. The options of the service program can be used after
install only, if a special and valid user license file exists for the service
program.
Important
· The Matrox Imaging Library version 9.0
has to be installed prior to the program Slide Scanner. Is the program slide
scanner already installed, install the Matrox Imaging Library version 9.0, then
remove the program slide Scanner and install it again!

Contents
Uninstall the Pannoramic Scanner Program “SlideScanner.exe”
Install the Pannoramic Scanner Program “SlideScanner.exe”
Install the Scanner Service Program “SlideScannerService.exe”
 Requirements
·
Installed operating system Windows® 7 x 64bit
· The install CD / DVD of the software version to be
installed
· Successful installed Matrox Imaging Library; prior to
this installation procedure.
See also: Software and
driver installation
· The installation should be done from a HDD, DVD or a
pen drive.
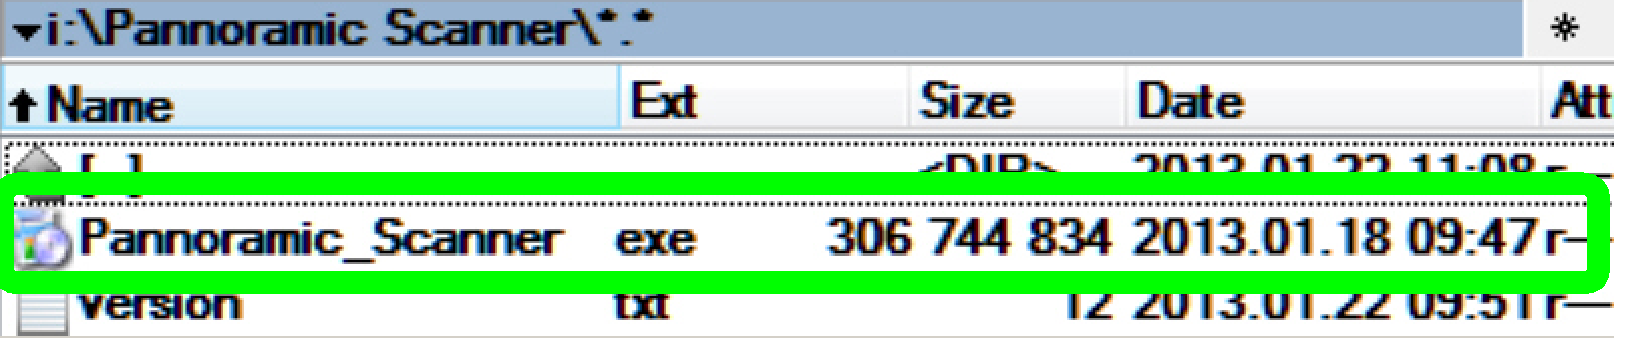
Start the file
<Drive>:\Pannoramic Scanner\Pannoramic_Scanner.exe
· Before removing the actual version or before
installing the new version, please disconnect the Scanner / Viewer dongle from
the USB port.
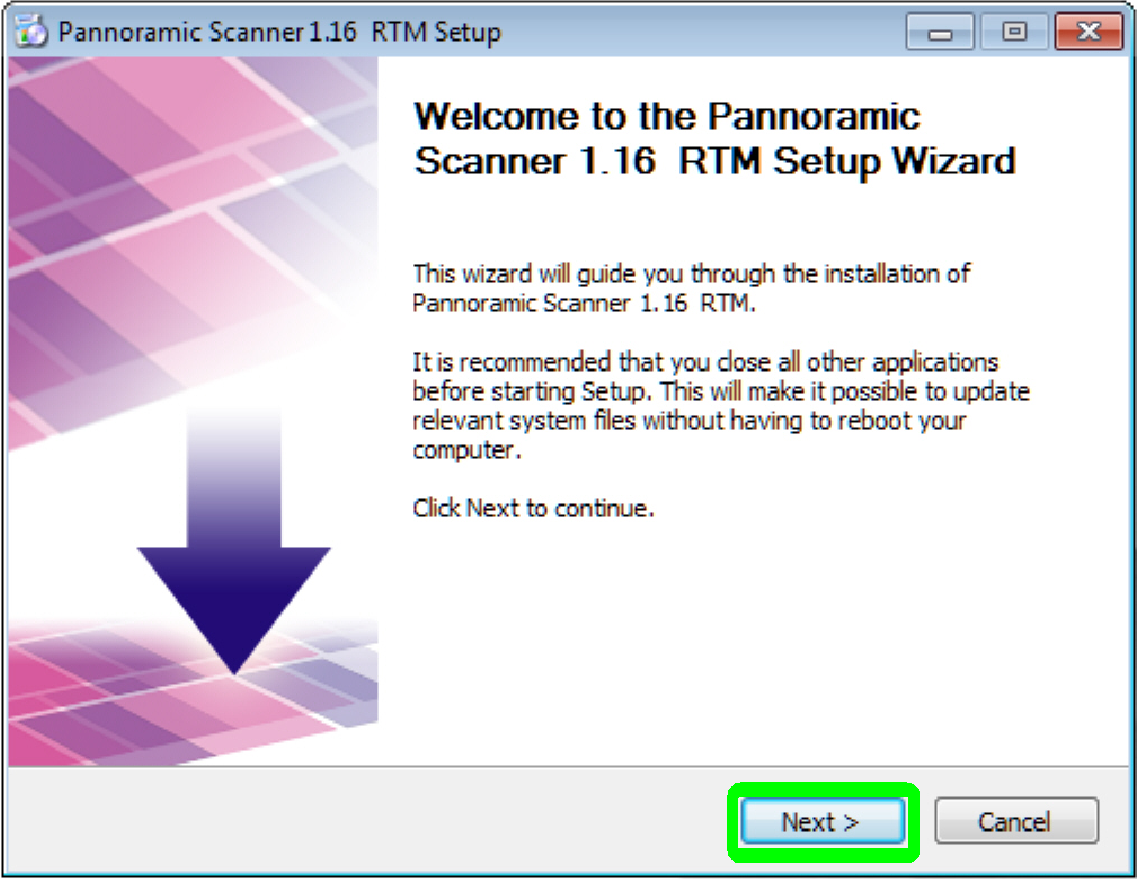
· Welcome screen “Setup wizard”
Press “Next”
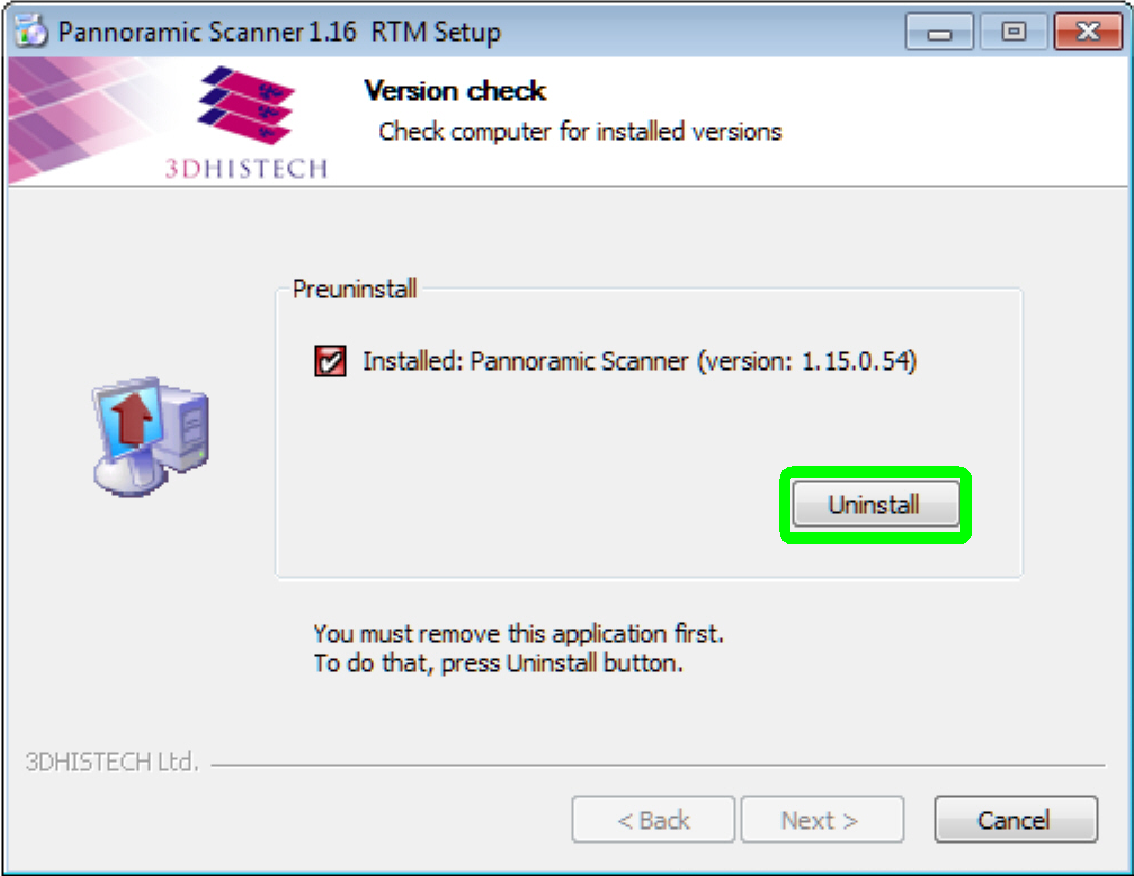
· Installed version found
Press “Uninstall”
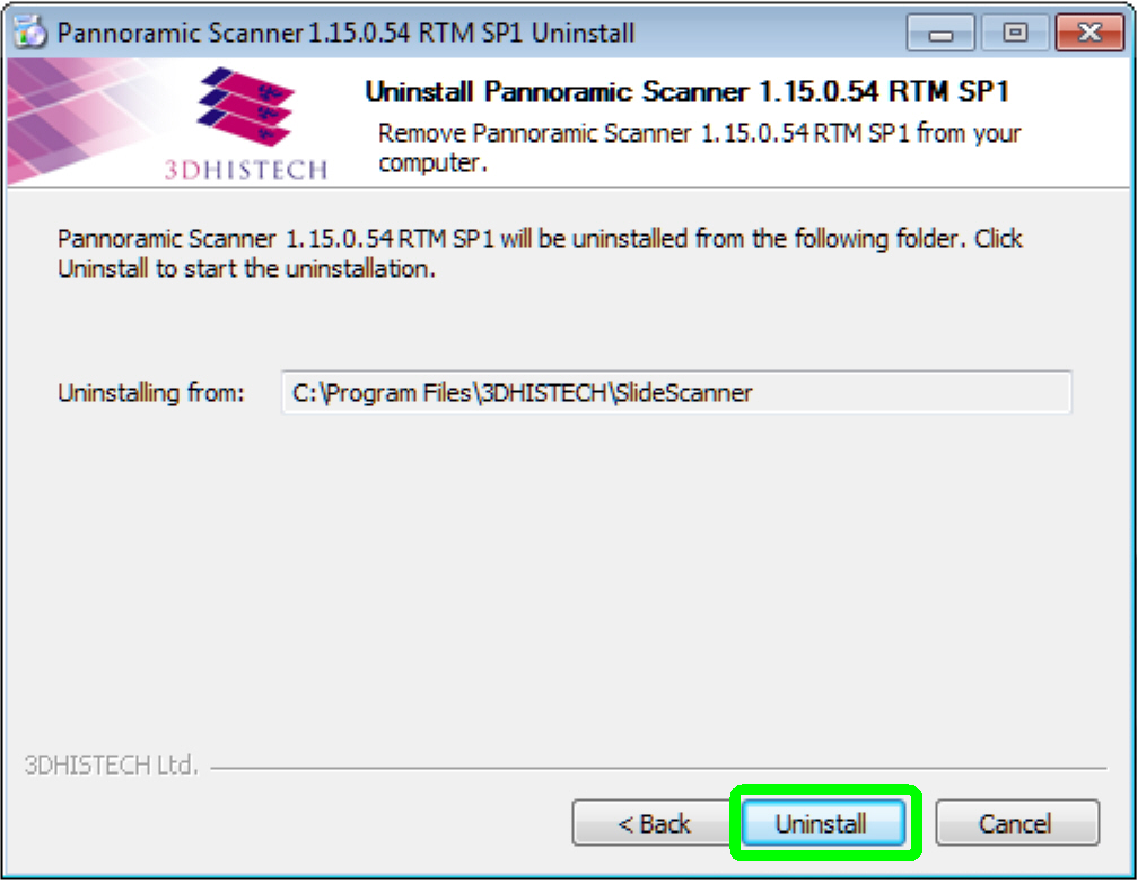
· Remove the found version from folder
Press “Uninstall”
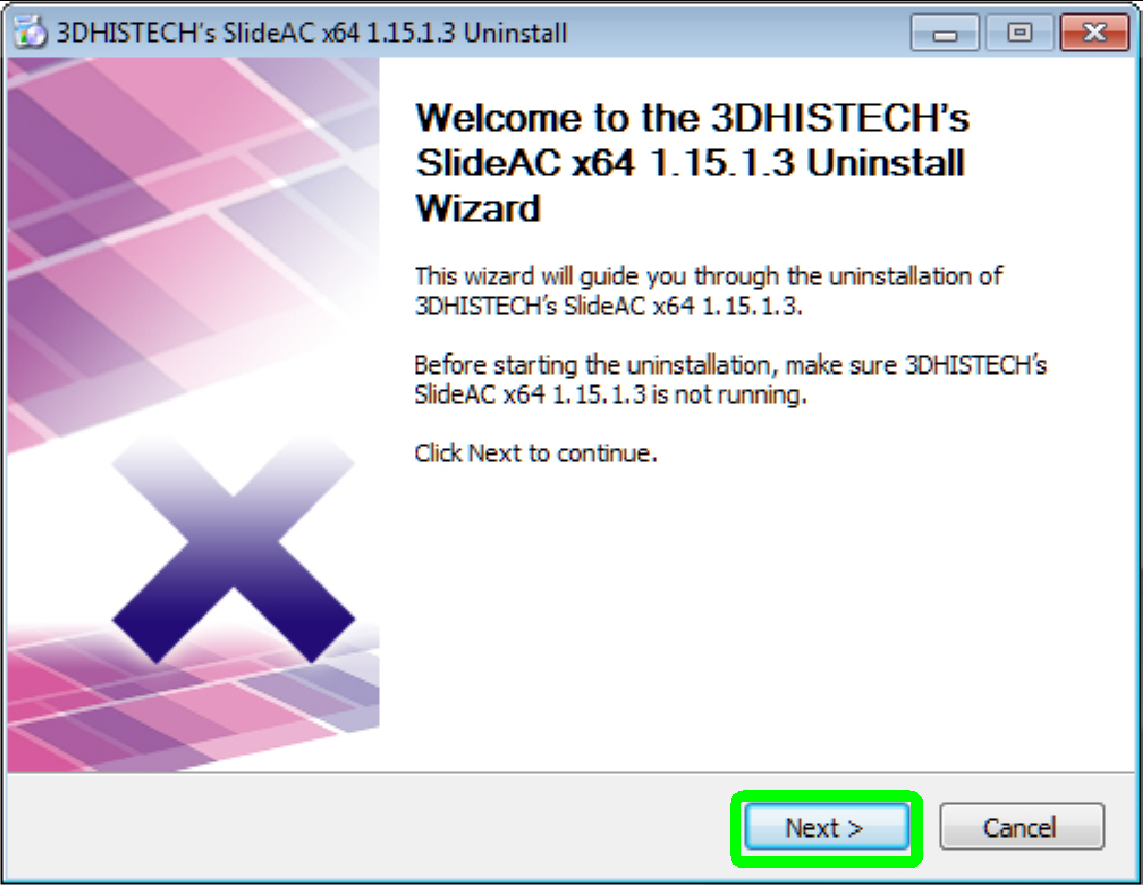
· The Welcome screen of the uninstall wizard
Press “Next”
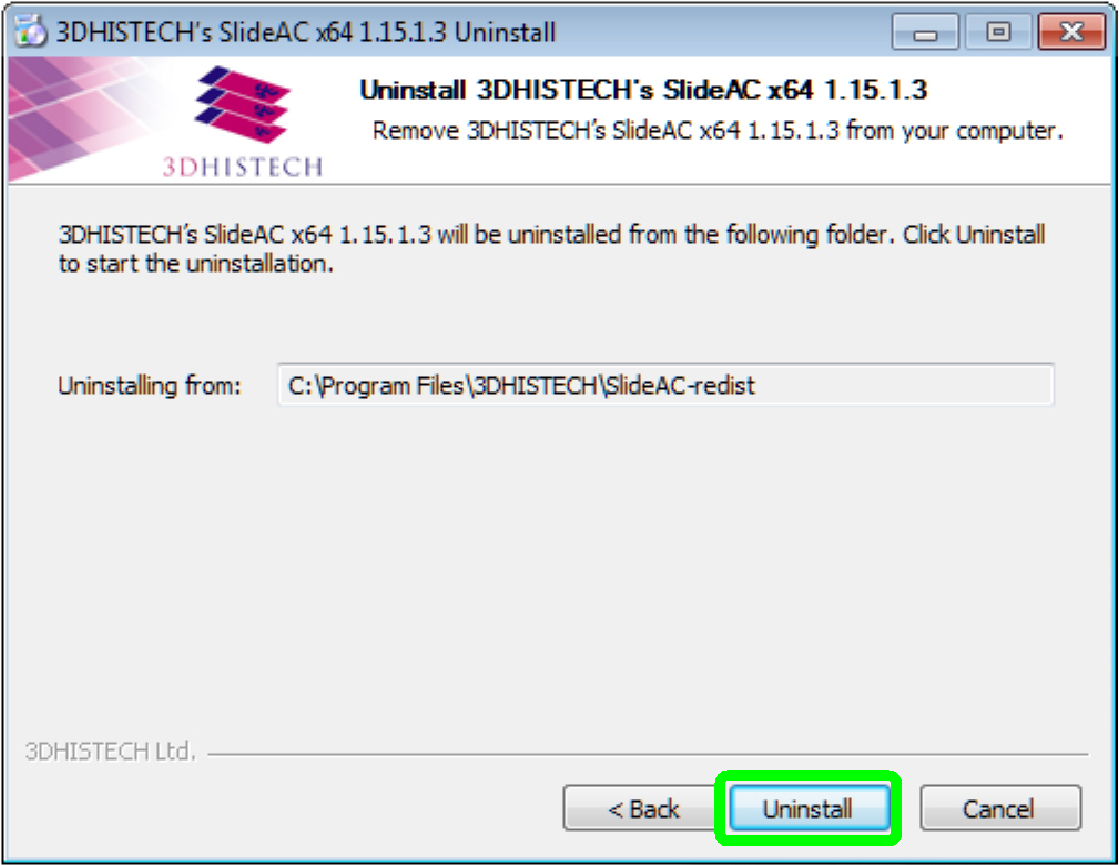
· Remove the found part from the folder
Press “Uninstall”
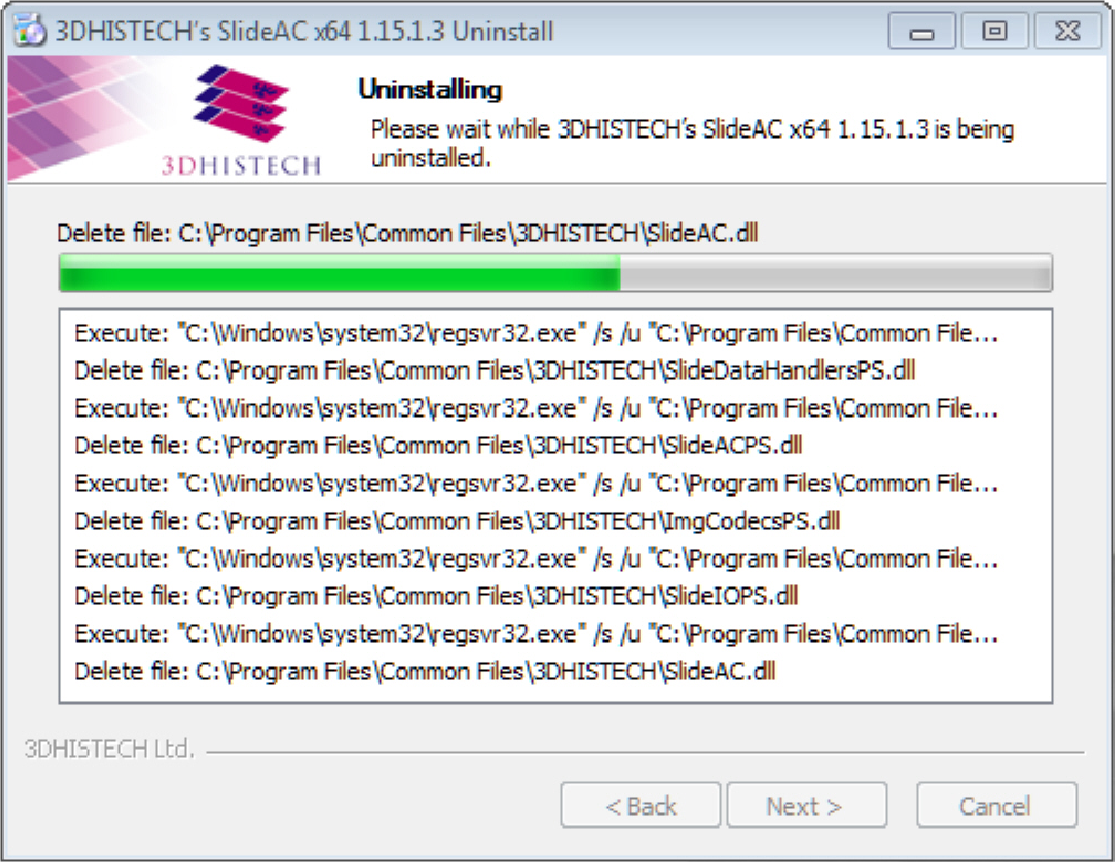
· Uninstall in progress
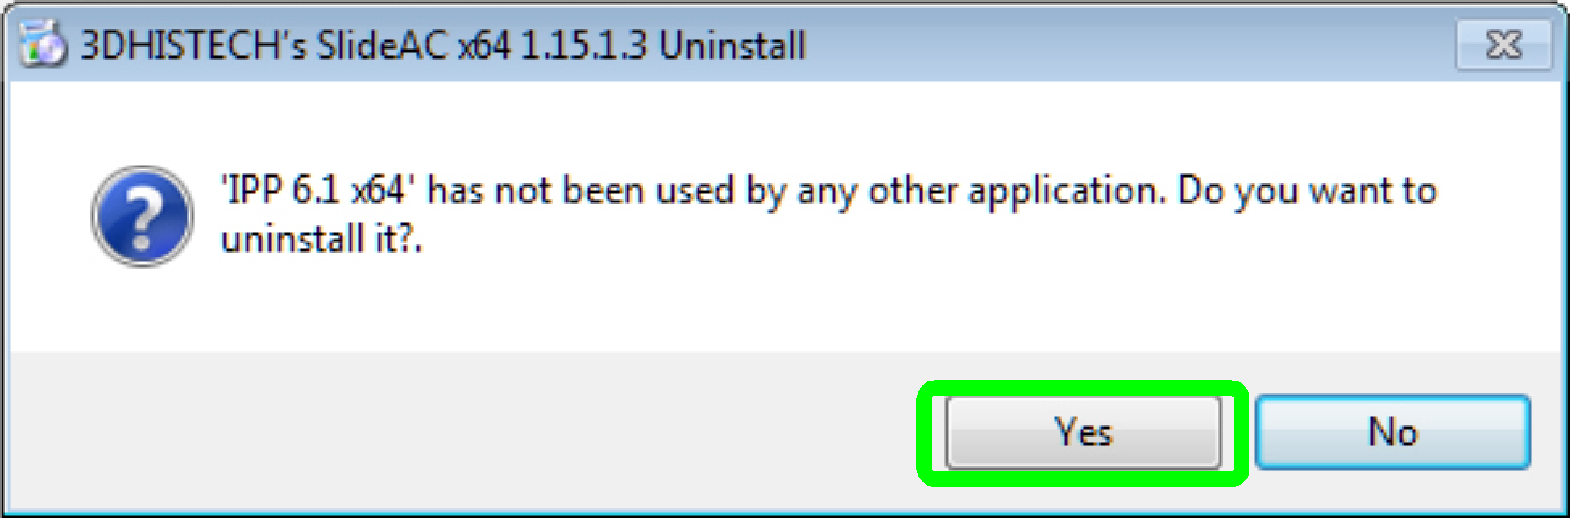
· Answer the question wit “Yes”
Press “Yes”
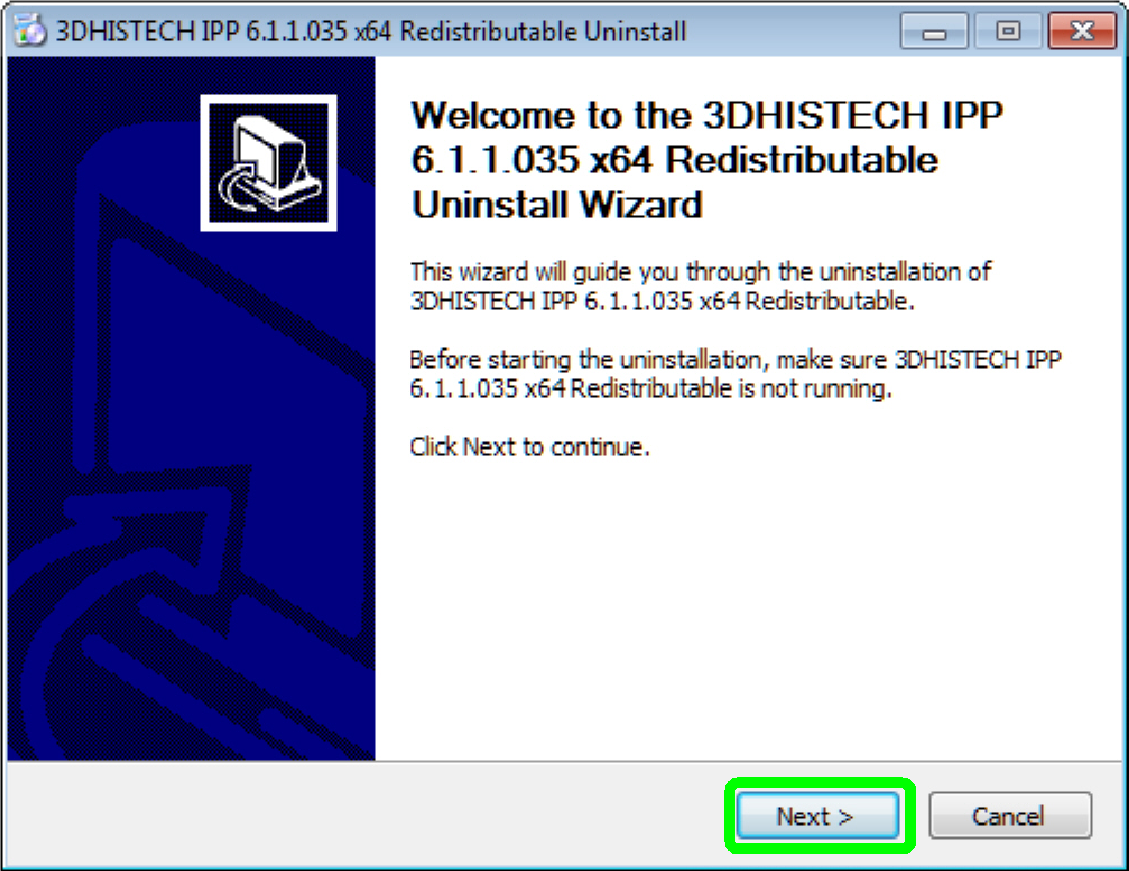
· Removable part
found
Press “Next”
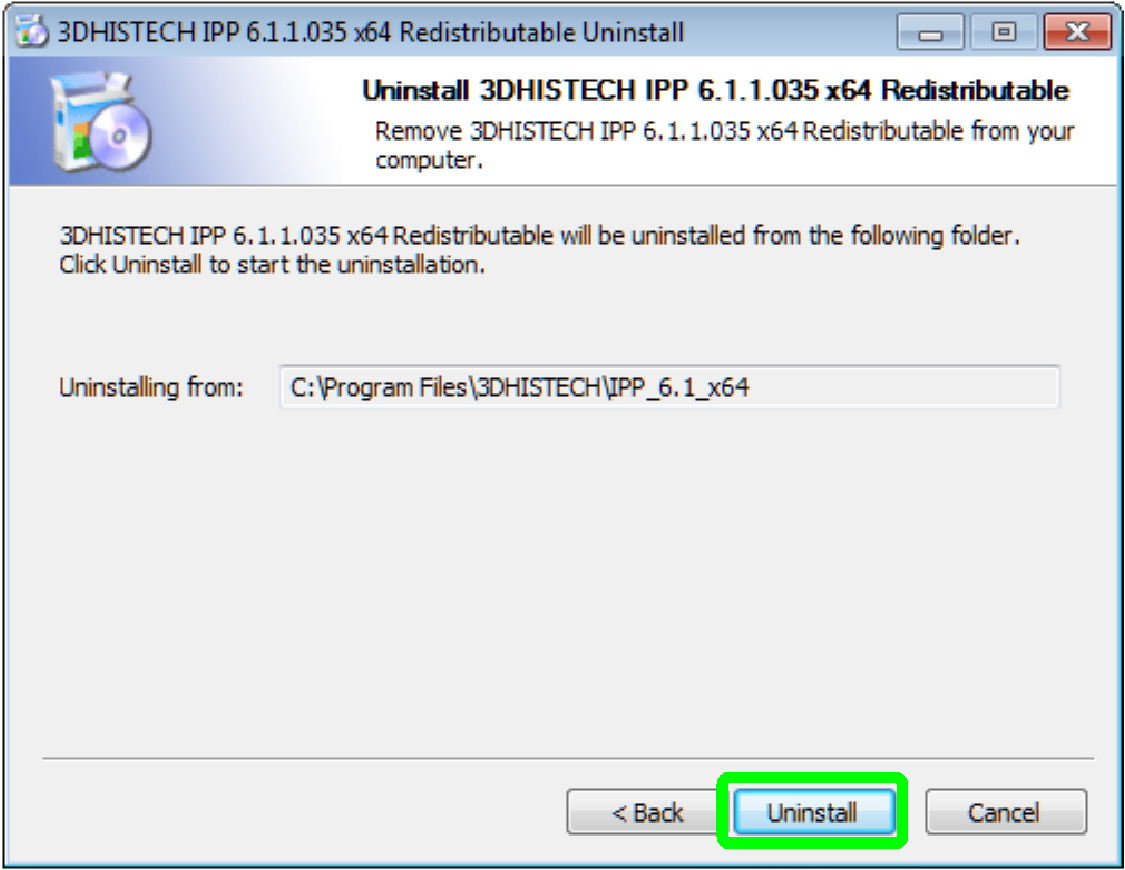
· Remove the found part from the folder
Press “Uninstall”
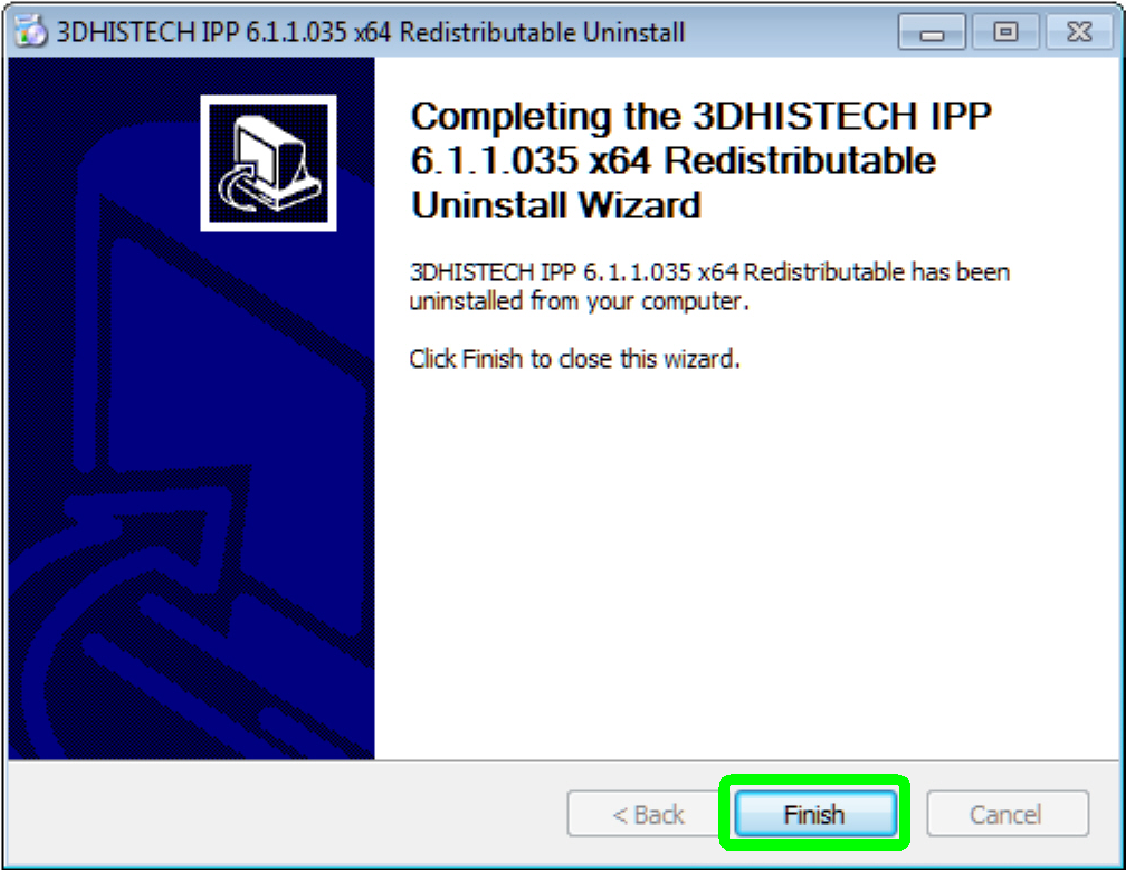
· Uninstall of the part is finished
Press “Finish”
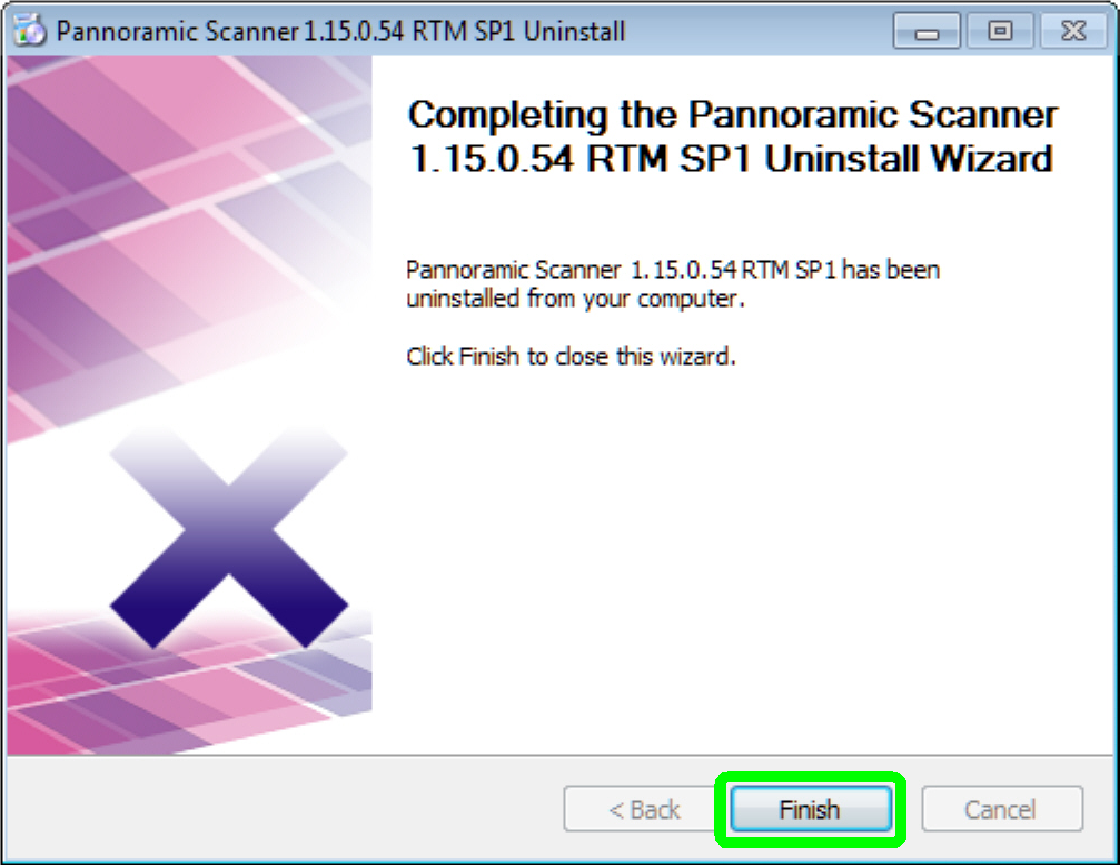
· Exit uninstall wizard
Press “Finish”
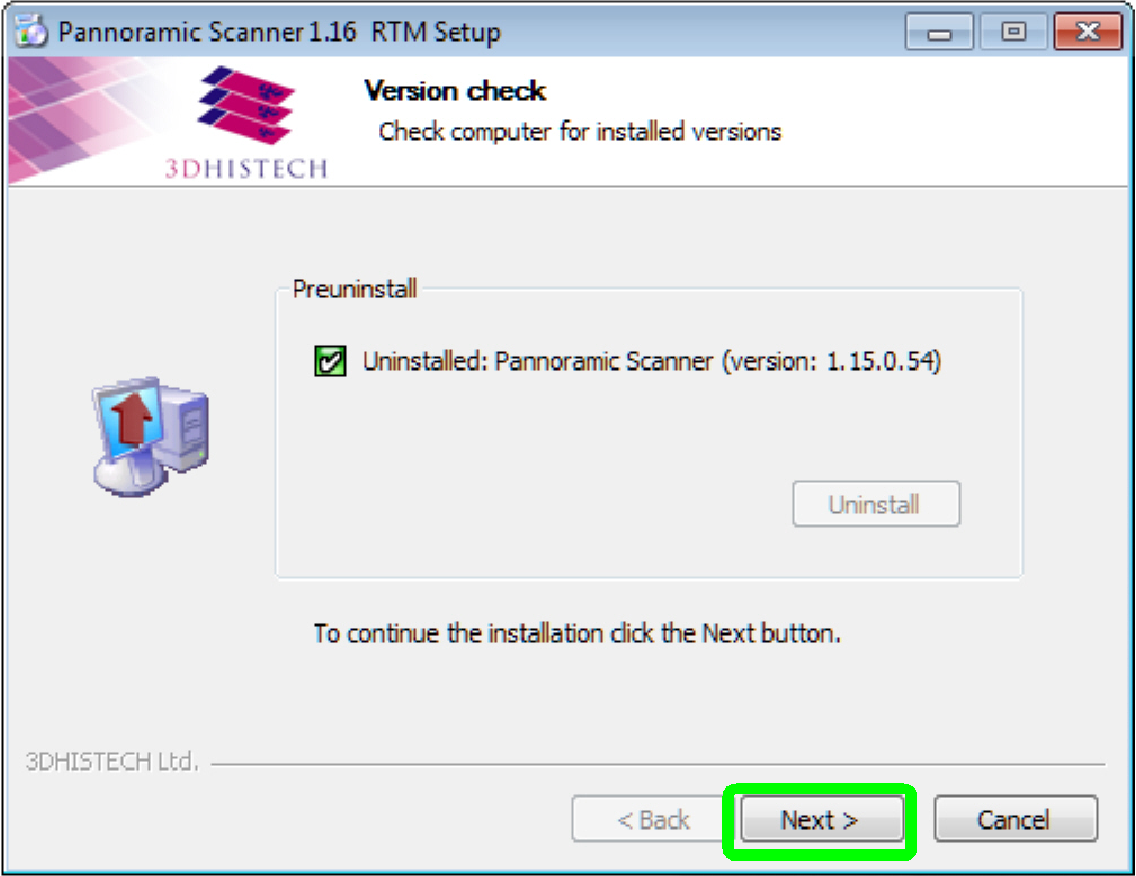
· Check for installed version
Press “Next”
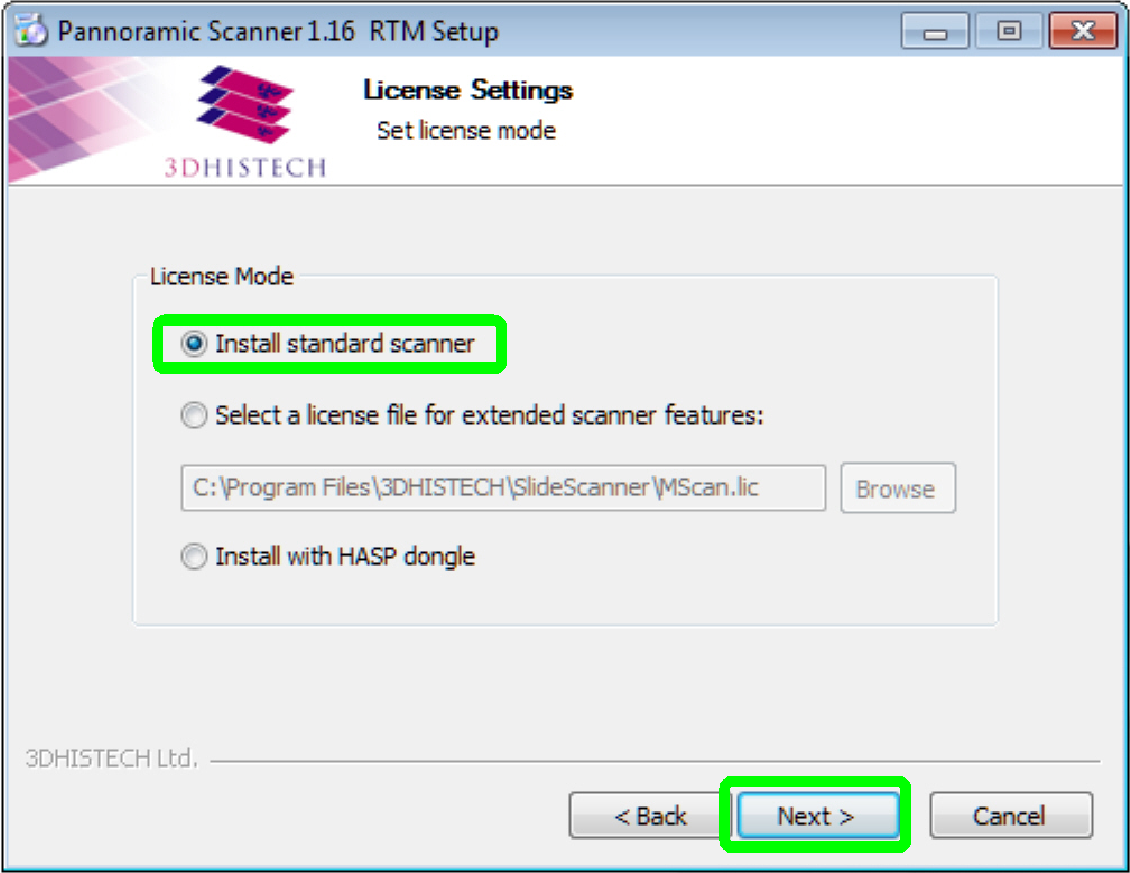
· Select your “License Mode”
Install standard scanner
Press “Next”
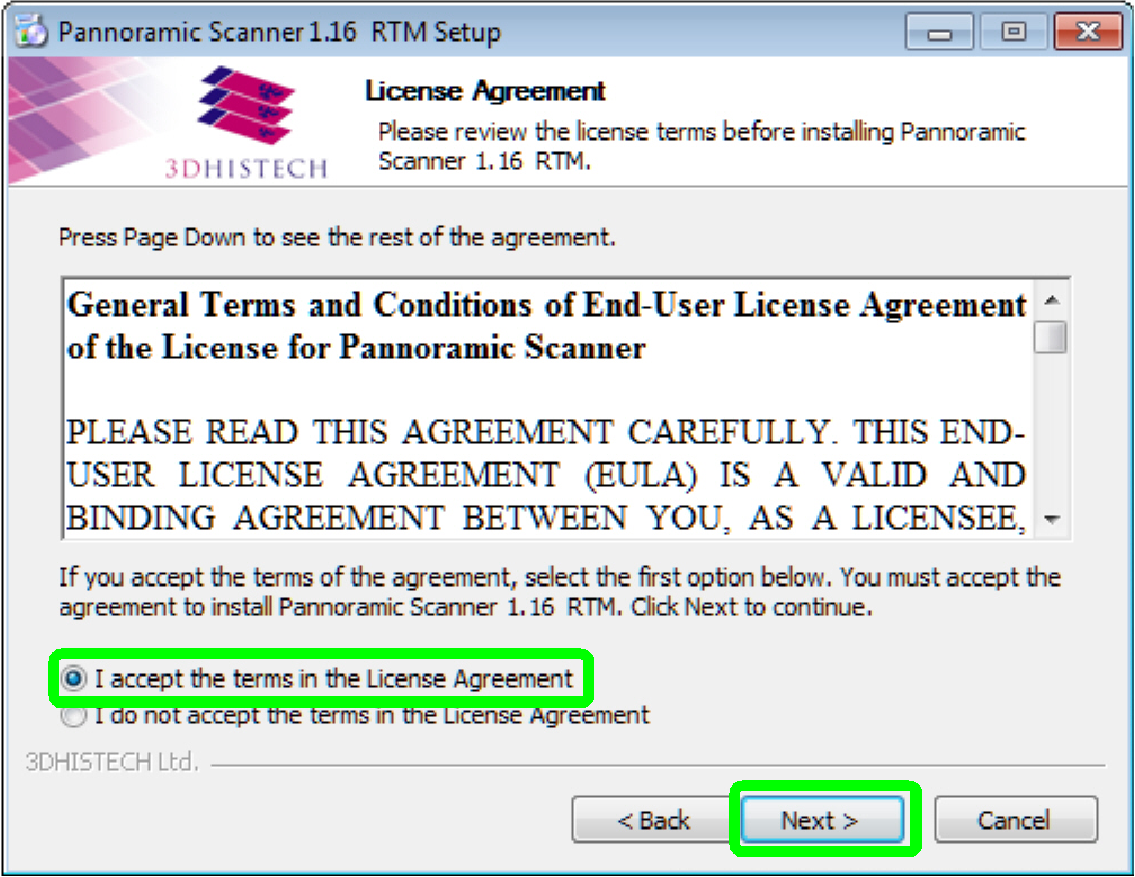
· Read the “End-User License Agreement”
Select “I accept …”
Press “Next”
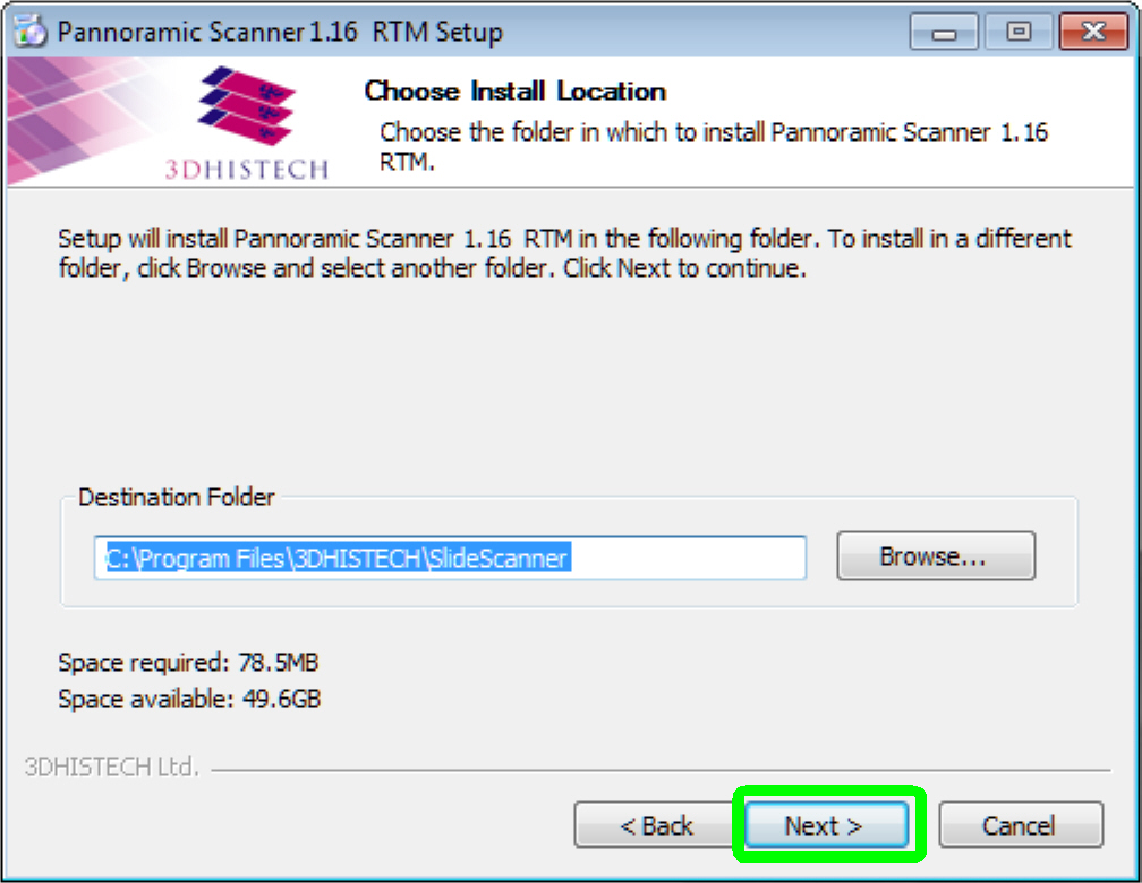
· Install the version to the destination folder
Press “Next”
· Install in progress
Press “Next”
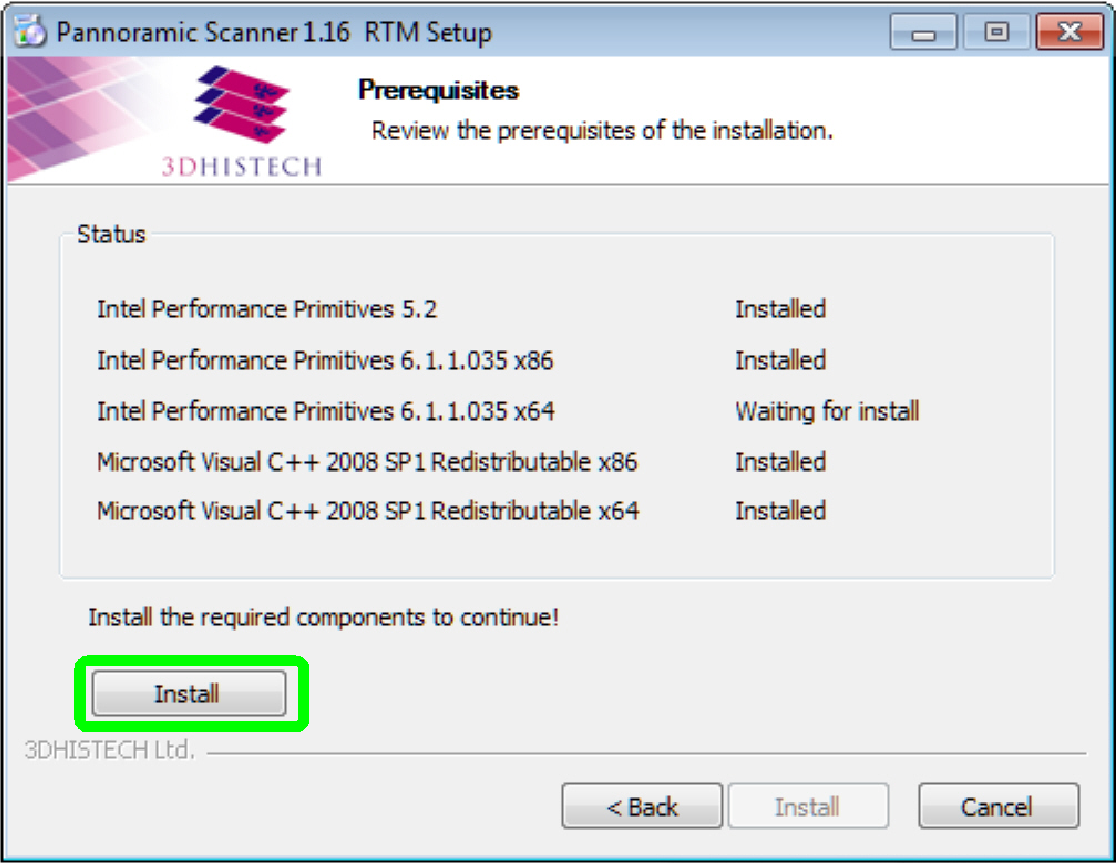
· Acknowledge the installation of the part
Press “Install”
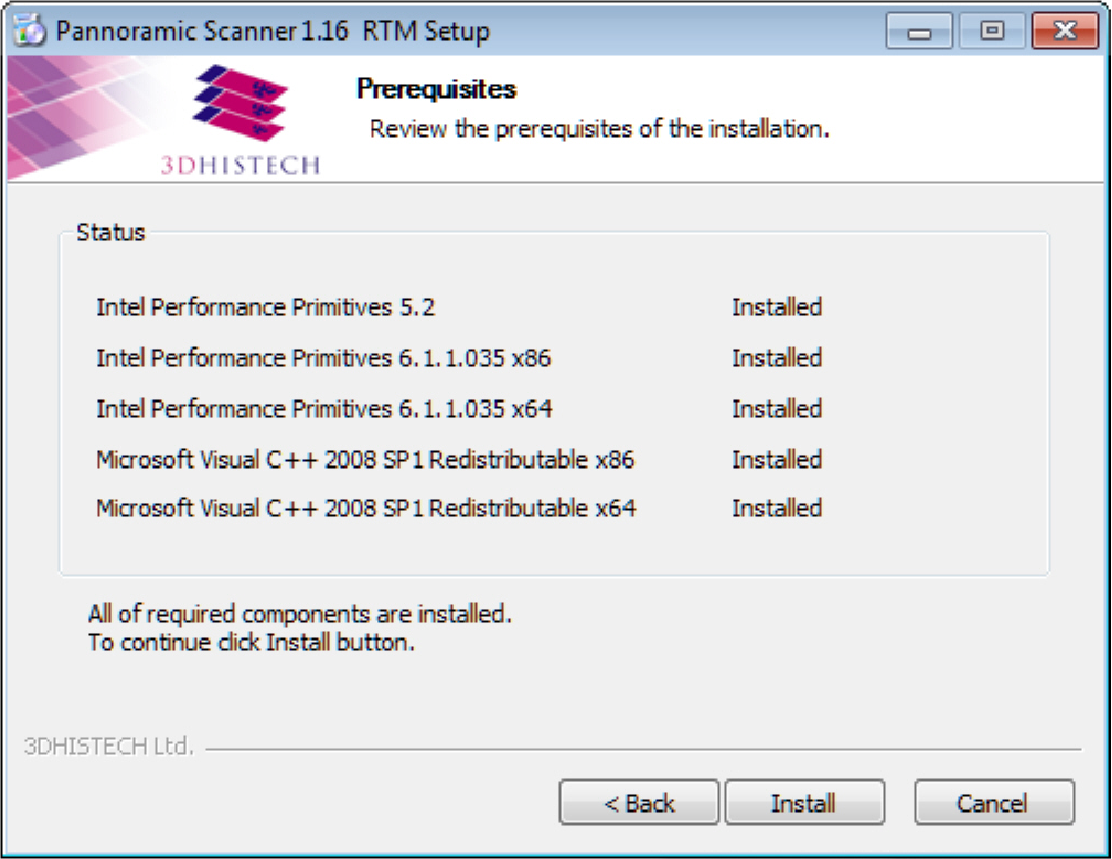
· Installed components
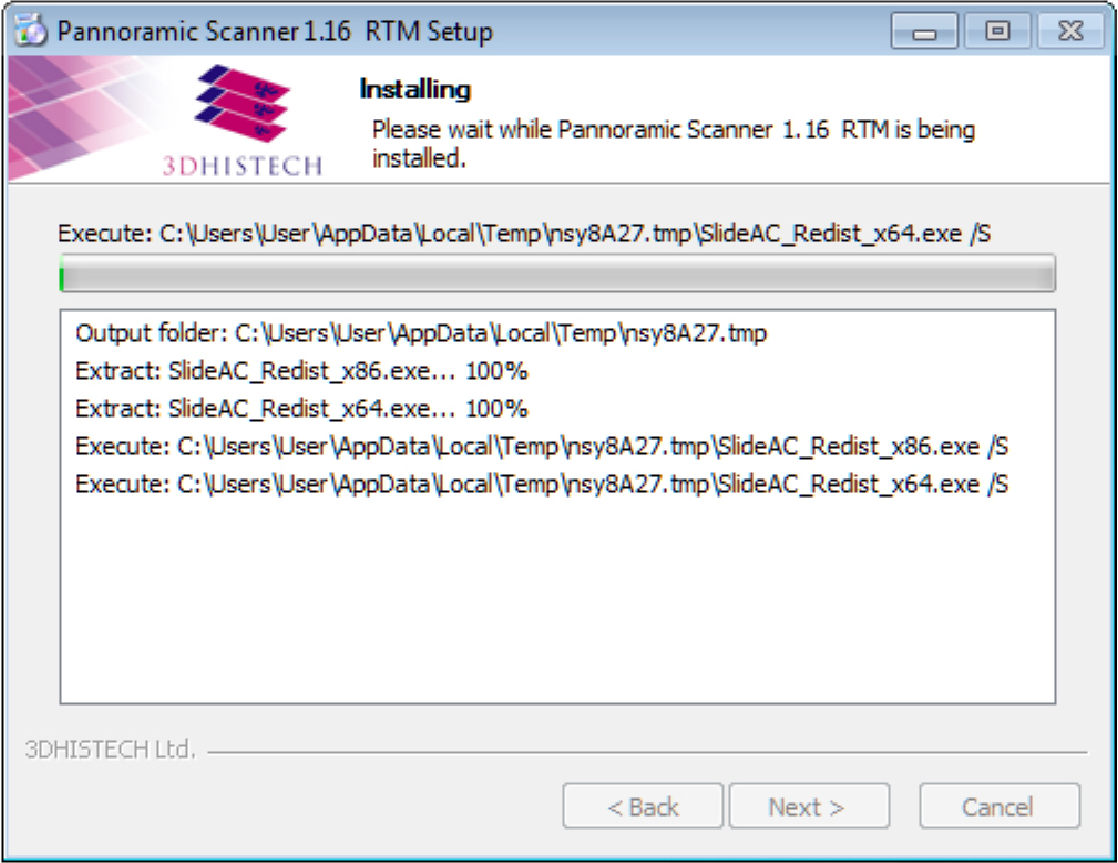
· Prepare the software
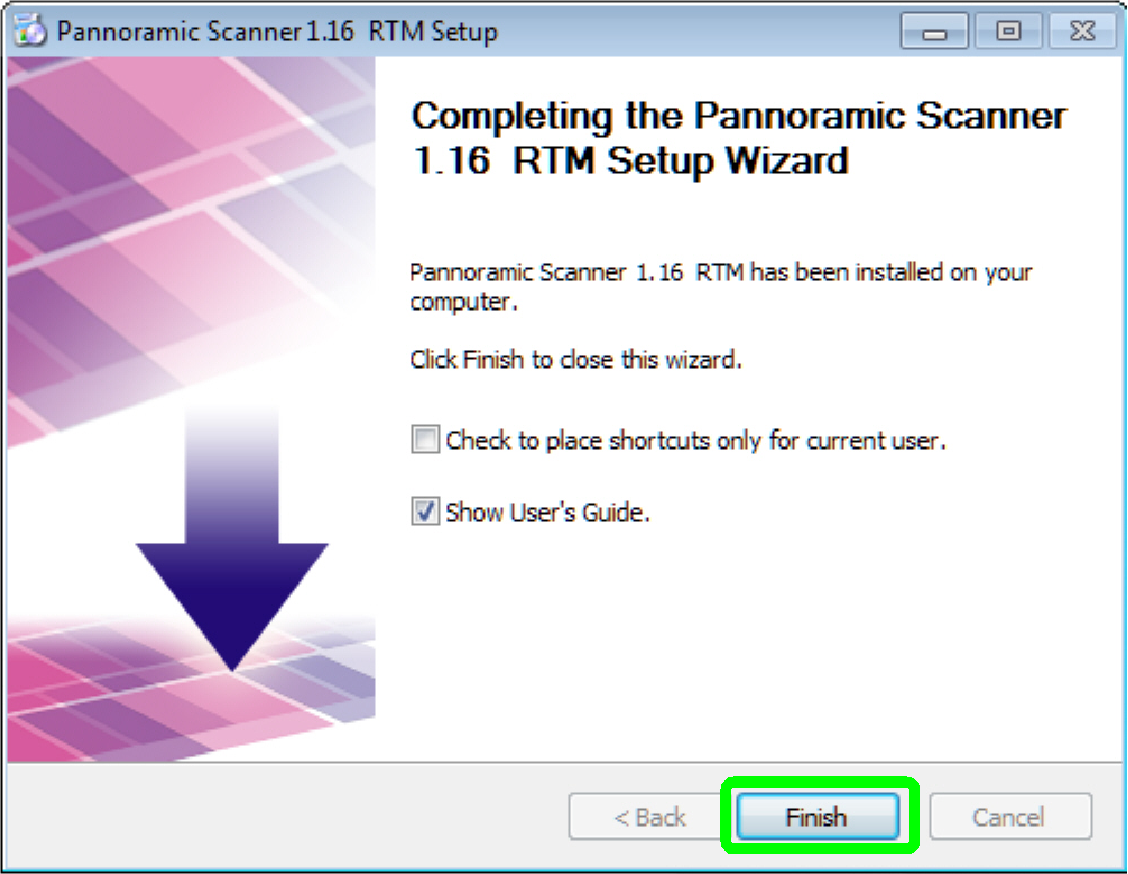
· Installation finished
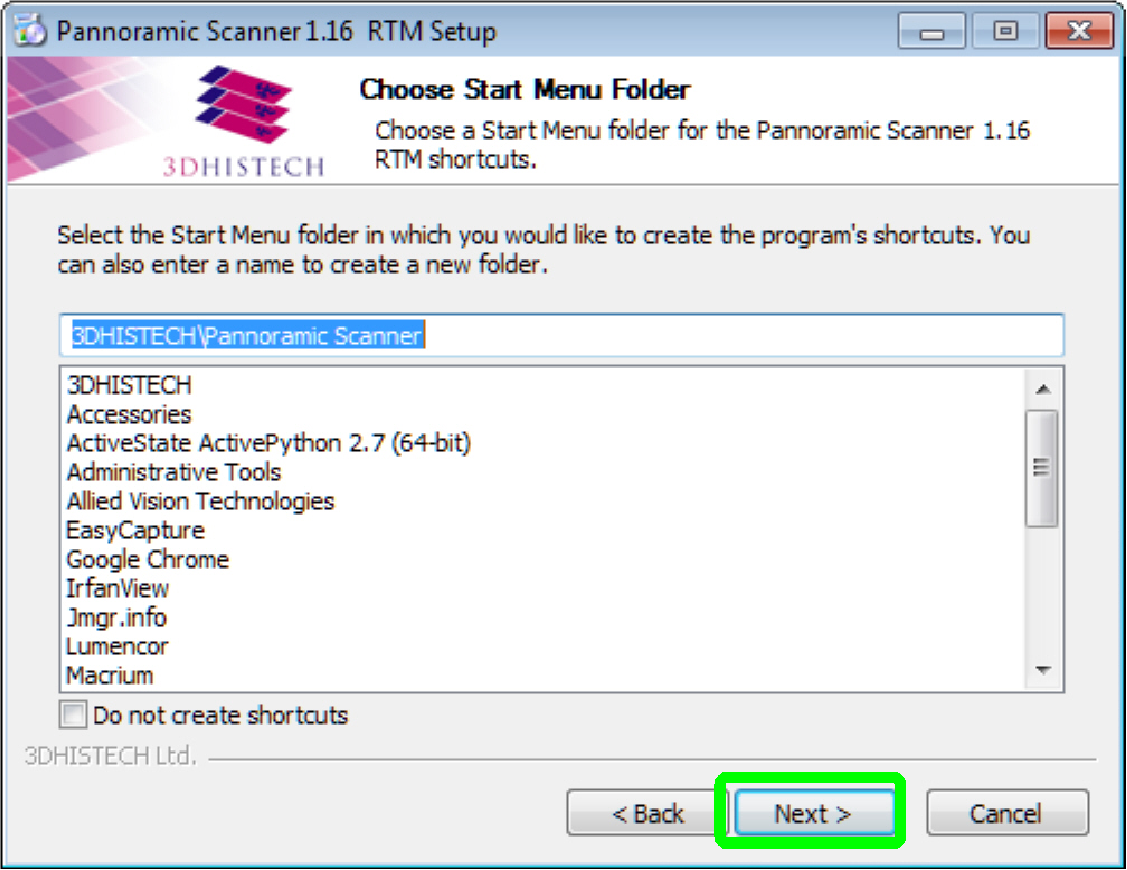
Select options
· Check to place shortcuts only for current user
· Show user’s guide
Press “Finish”
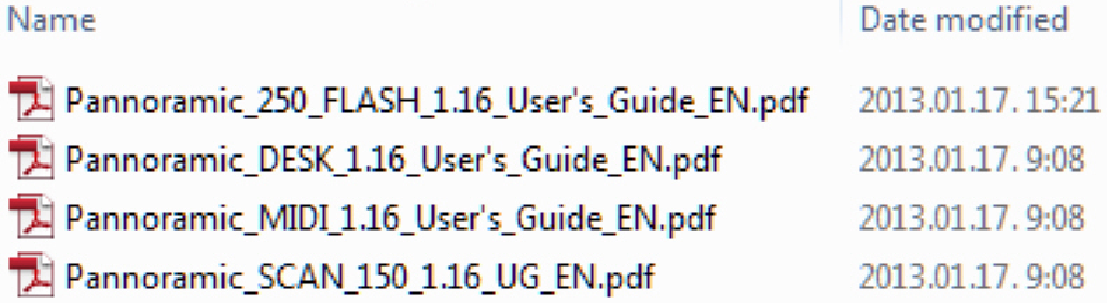
· Please read the user’s guide of your scanner
Pannoramic_250_FLASH_1.16_User's_Guide_EN_Rev1.pdf
Pannoramic_SCAN_150_1.16_UG_EN_Rev1.pdf
Pannoramic_MIDI_1.16_User's_Guide_EN_Rev1.pdf
Pannoramic_DESK_1.16_User's_Guide_EN_Rev1.pdf

· Before starting the software “SlideScanner”, the microscope USB driver has to be installed!
· After installing the new version, please reconnect the
Scanner / Viewer dongle to the USB port.
· Start the program “SlideScanner.exe” by clicking the
icon “Pannoramic Scanner” or from its folder.
The path is
C:\Program
Files\3DHISTECH\SlideScanner\SlideScanner.exe
· Before starting the software “SlideScannerService”, the microscope USB driver has to be installed!
· Copy the actual, valid license file “MService.lic”
into the folder.
C:\Program
Files\3DHISTECH\SlideScanner\
· If the license file is not valid, the program
“SlideScannerService.exe” can be started but the options are all inactive and
can not be selected!
· Start the program “SlideScannerService.exe” by
clicking the icon “SlideScannerService.exe” or from its folder.
The path is
C:\Program
Files\3DHISTECH\SlideScanner\SlideScannerService.exe
END