Clone
the operating system with “Clonezilla”
The following description handles
the setup of the operating system onto the computer; based on a new, no
partitioned HDD.
·  If data exists on
the destination HDD, please save it to another HDD before executing these
steps!
If data exists on
the destination HDD, please save it to another HDD before executing these
steps!
During execution of “Clonezilla”, the
following changes will be made:
· Attention: All existing data on the destination HDD will
be lost!
· Create the
necessary partition(s) on the HDD
· Create the boot
record
· Make the partition
bootable
· Clone the
operating system onto the HDD (Windows®
7)
· Boot the operating
system the first time.
Remark
· To setup the
operating system Windows® 7 x64bit any equivalent
procedure may be used unhesitatingly!
· The installation
of the user programs “SlideScanner.exe” and “SlideViewer.exe” is not included!
Important
· Please install always only verified and tested
versions of Windows® 7 x 64bit (related to Slide Scanner and Slide viewer);
see: Setup the operating system
Windows® 7 x 64bit
Requirements
· Y.U.M.I. (Your
Universal Multiboot Installer) A free CD image
loader application
Download: http://www.pendrivelinux.com/yumi-multiboot-usb-creator/
· Local network
connection; our image file of the operating system is located on the server.
· The image file of
the Program (operating system) to be cloned (we
using the operating system Windows® 7 x 64bit)
· “Clonezilla”; located
on a “Pen drive”; together with yumi.
The
clone image creation procedure (not
shown here)
· Create a clone of
the HDD with the installed operating system (Windows® 7).
1.
Copy the ISO file (an ISO file is a virtual CD image
file which in our example will be used to restore a saved hard disk image)
2.
Copy Clonezilla
The
clone image restore procedure (shown in the following)
· Create the
bootable pen drive (with yumi; on a work station with
internet connection) this includes:
· Copy Clonezilla
The creation
of the pen drive with yumi and clonezilla
is already done previously (not shown)
In the following example, Y.U.M.I (Free CD image loader application) is
used to boot the file of the type “*.iso” onto the
HDD of the (new) computer.
The
clone image restore procedure
1)
Plug the pen drive into an USB port
2)
Switch on the computer
 Before the
computer boots, select the boot source.
Before the
computer boots, select the boot source.
3)
Select the media, where “Clonezilla”
is located.
· In our example, “Clonezilla” is located on a “Pen drive”.
· We start Y.U.M.I.
to be able to load the “Clonezilla” ISO file without
a CD or DVD.
4)
If the selection is correct, press ENTER.
· “YUMI” will start.

Select the “System Tools” in YUMI.
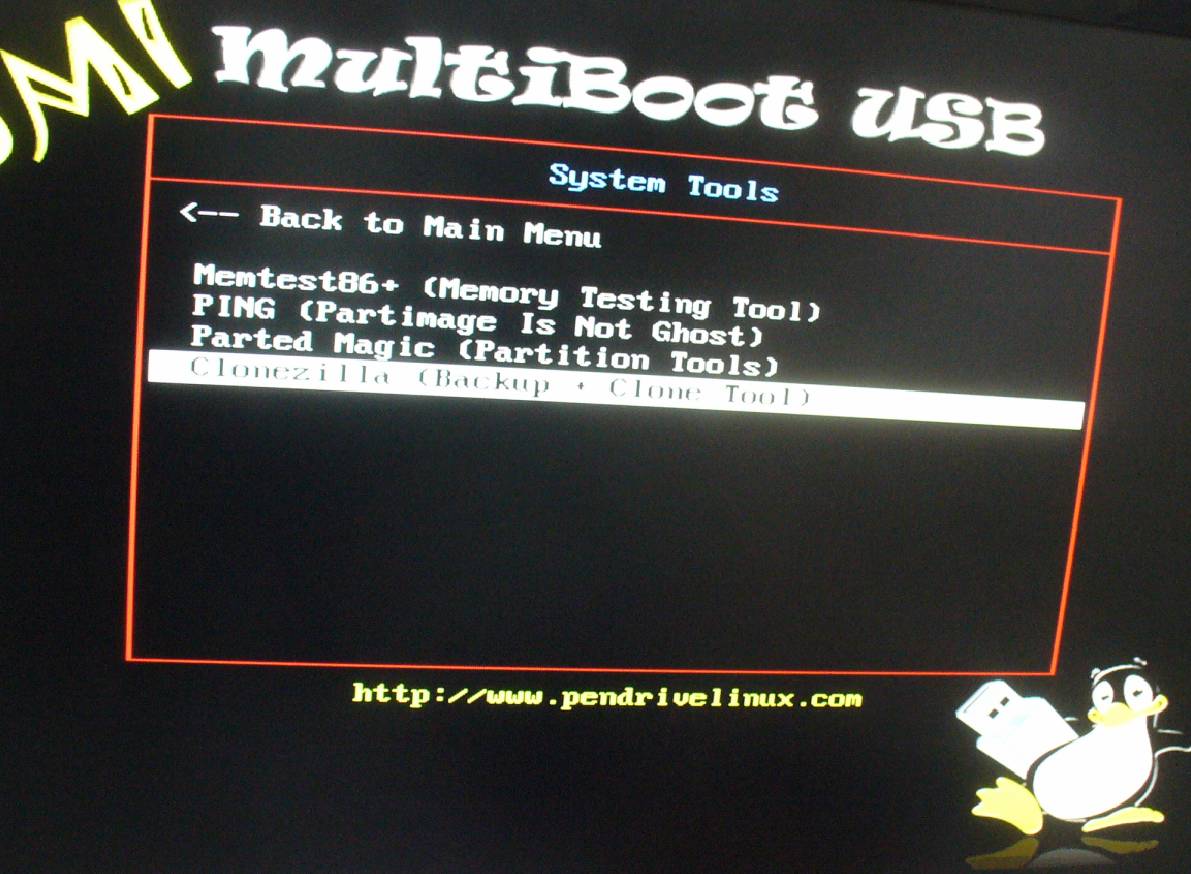
Click the Item “Clonezilla Backup + Clone
Tool”

Select the item “Other modes Clonezilla live”
(the first item)
Press ENTER
· If Clonezilla will not start, select the item “Other modes /
failsafe mode”.
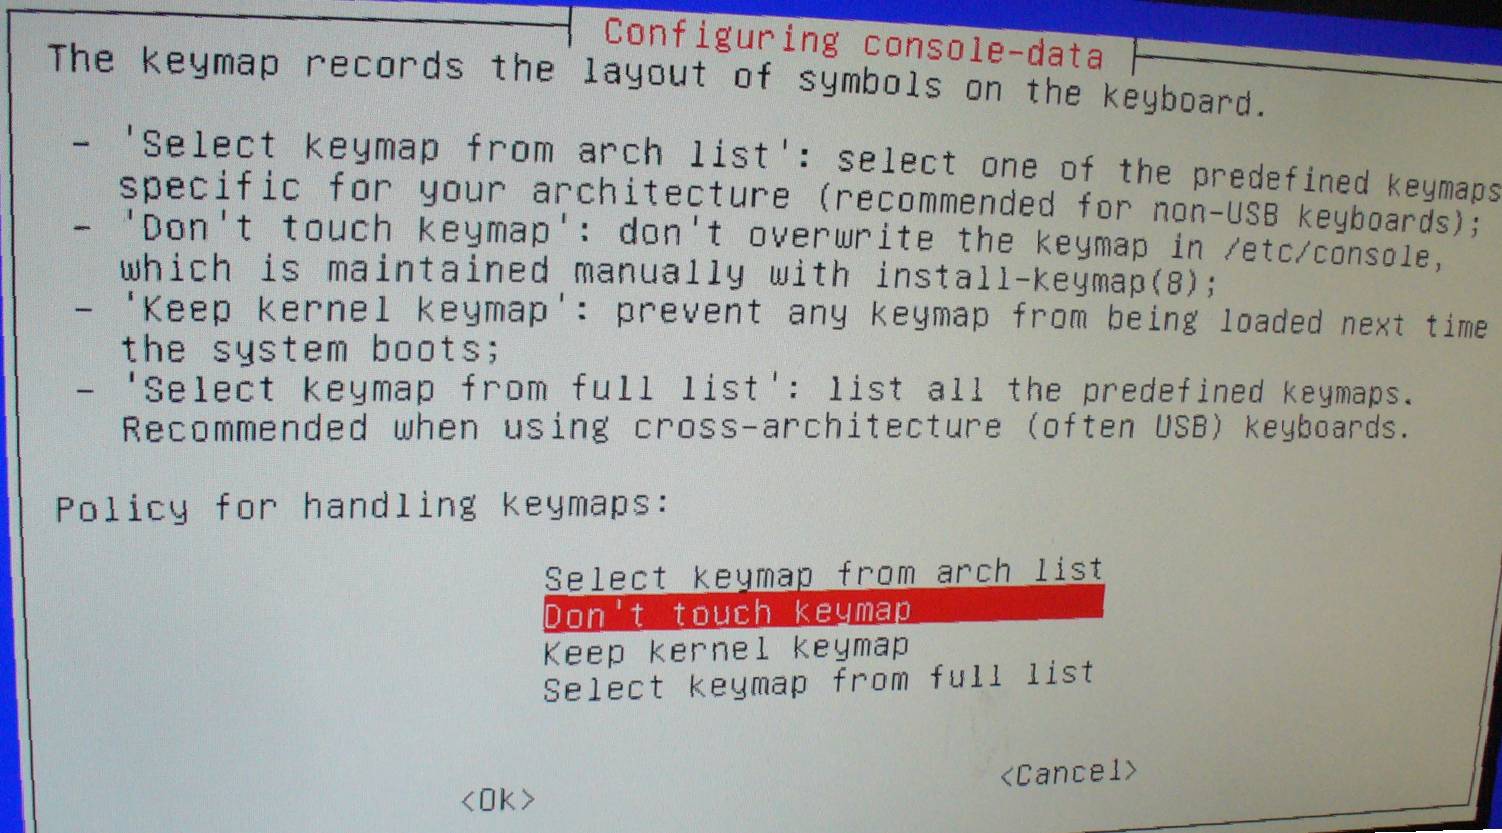
Select “Don’t touch Key map”
Press OK
· The English
default keyboard settings (Key map) will be selected.
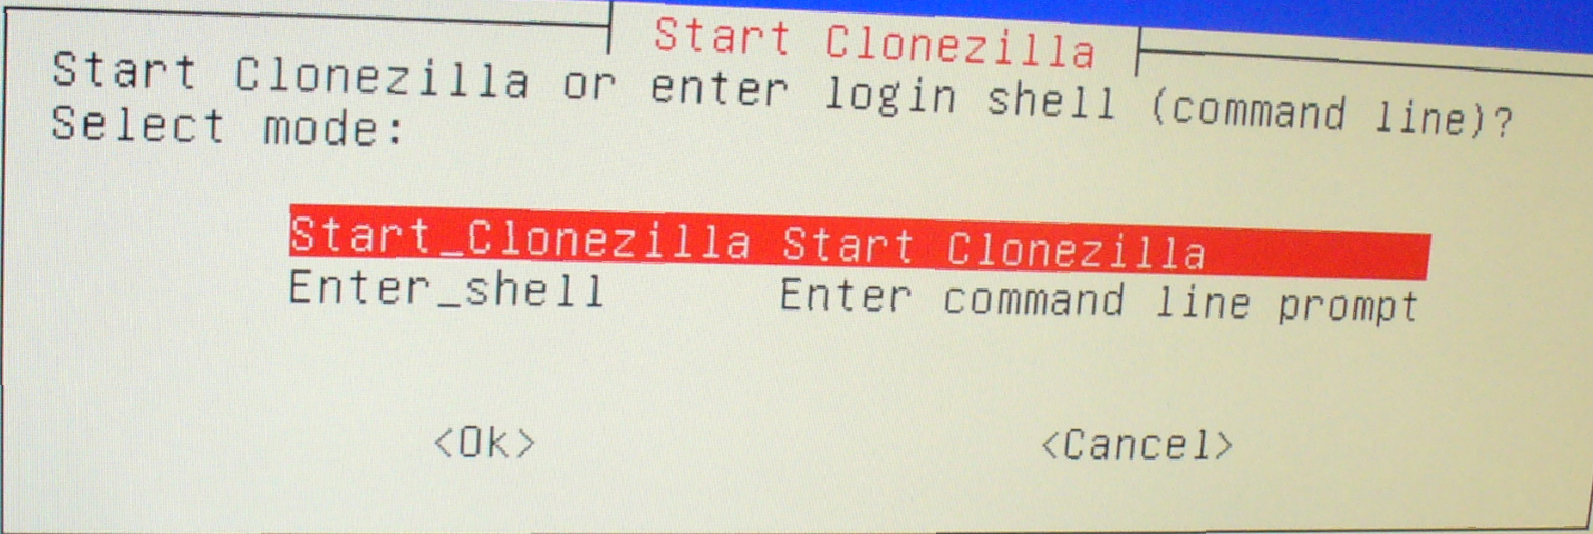
Start Clonezilla; Clonezilla will be
started
Press OK
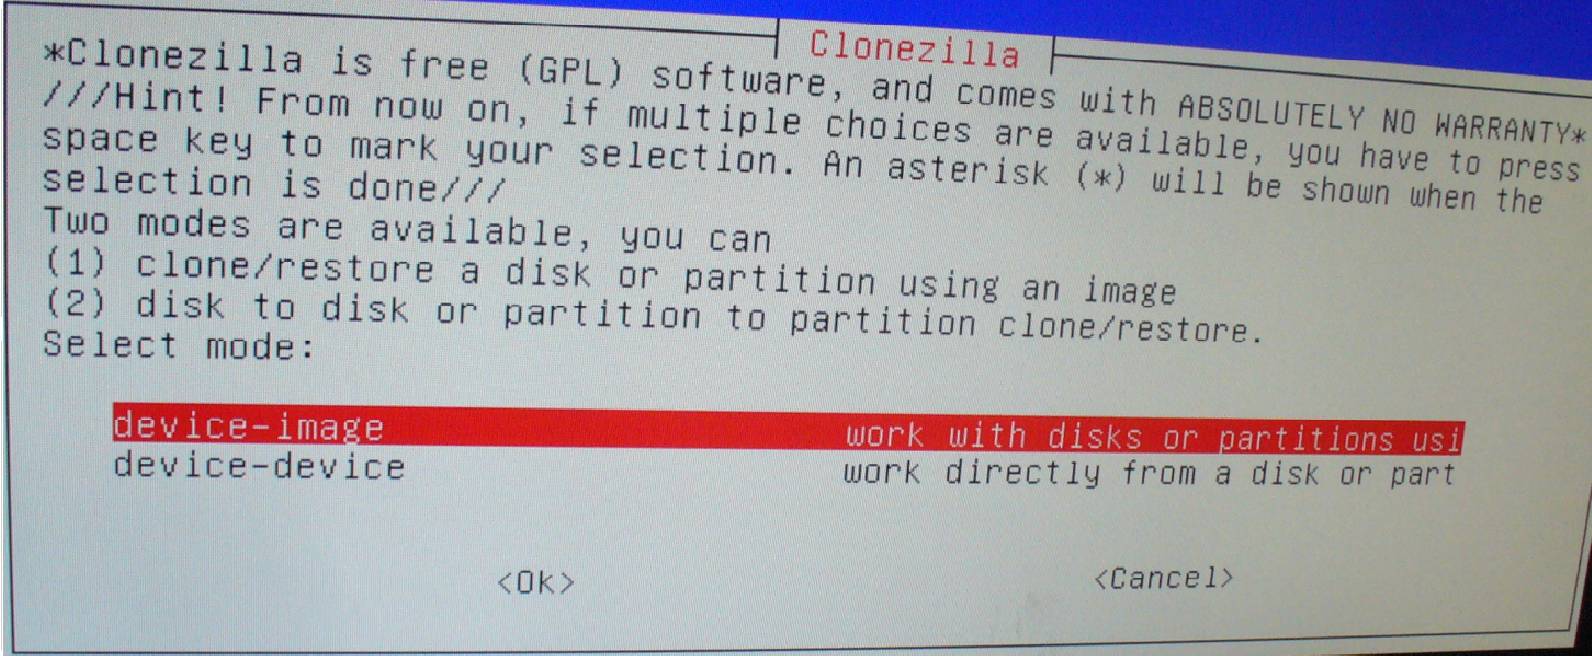
Select
Device- image work with
disks or partitions on usb
Press OK
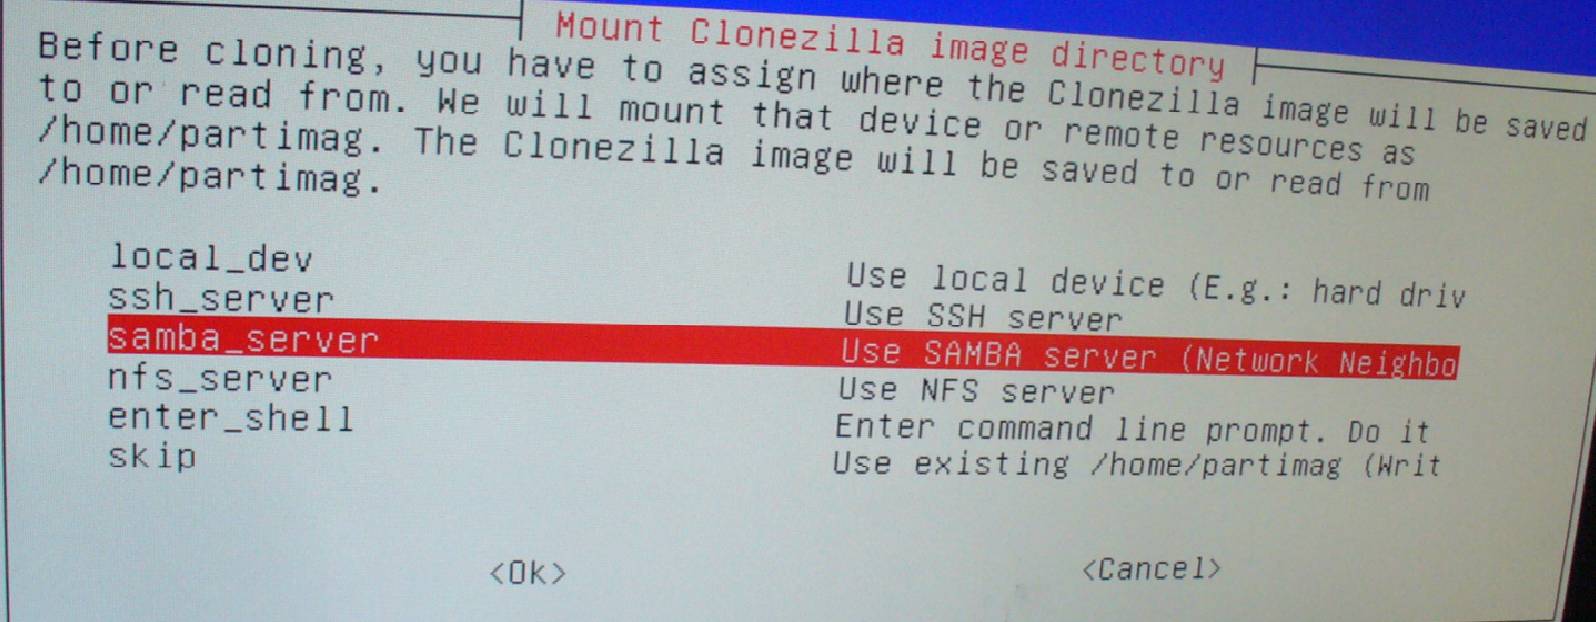
Samba server Use SAMBA
server (Network Neighborhood)
Here you will define the path of the image source!
In our example, we are using our own image collection from our server.
Press OK
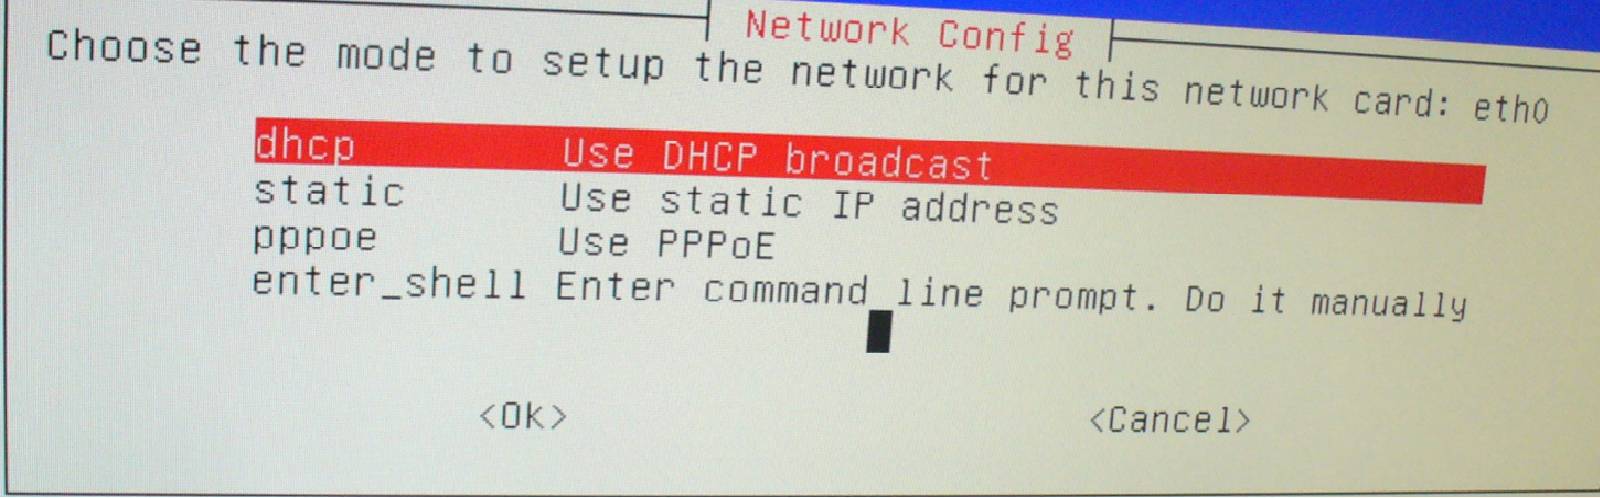
Select “dhcp …”
Before pressing OK, please check the network connection!
Press OK
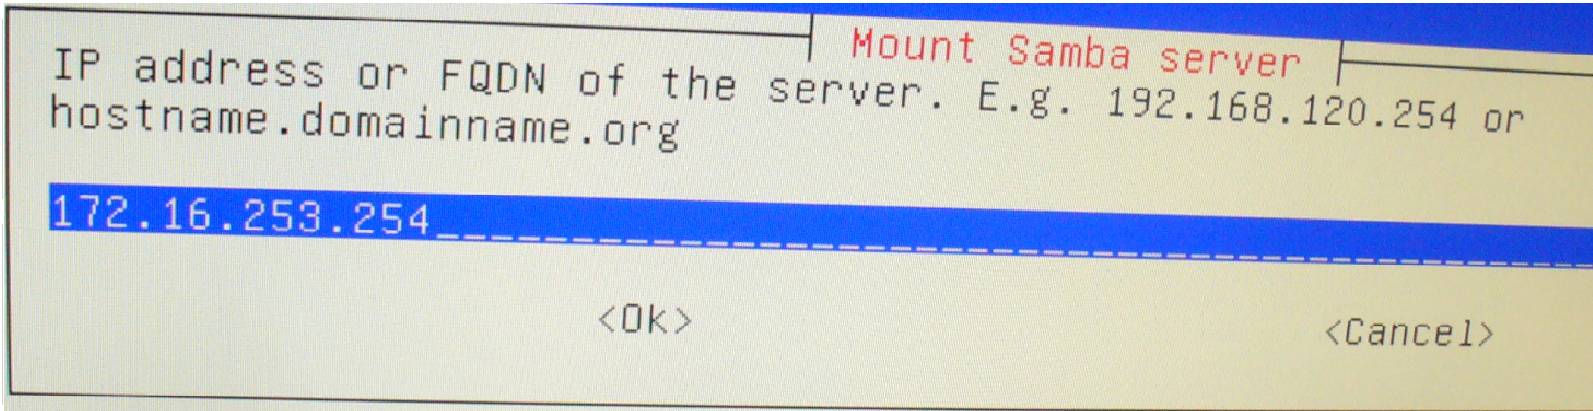
Type ‘172.16.254.231”
This is the IP address of our server (in our example)
Press OK
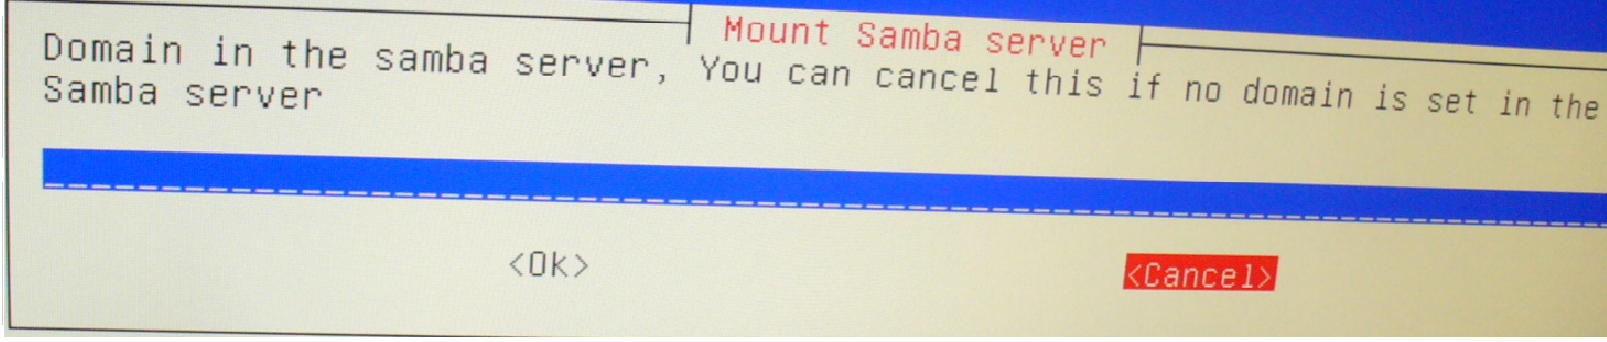
Press “Cancel”
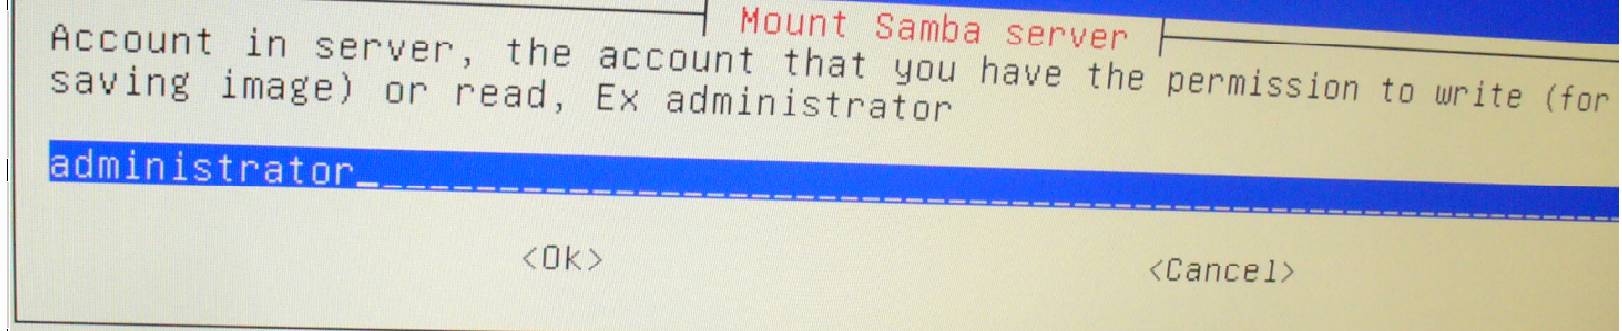 “administrator”
Type your own user name
Press OK

Type in the path of the image on the server
Press OK
 Password input
will be the next;
Password input
will be the next;
The path and the name of the administrator will be shown.
Press OK
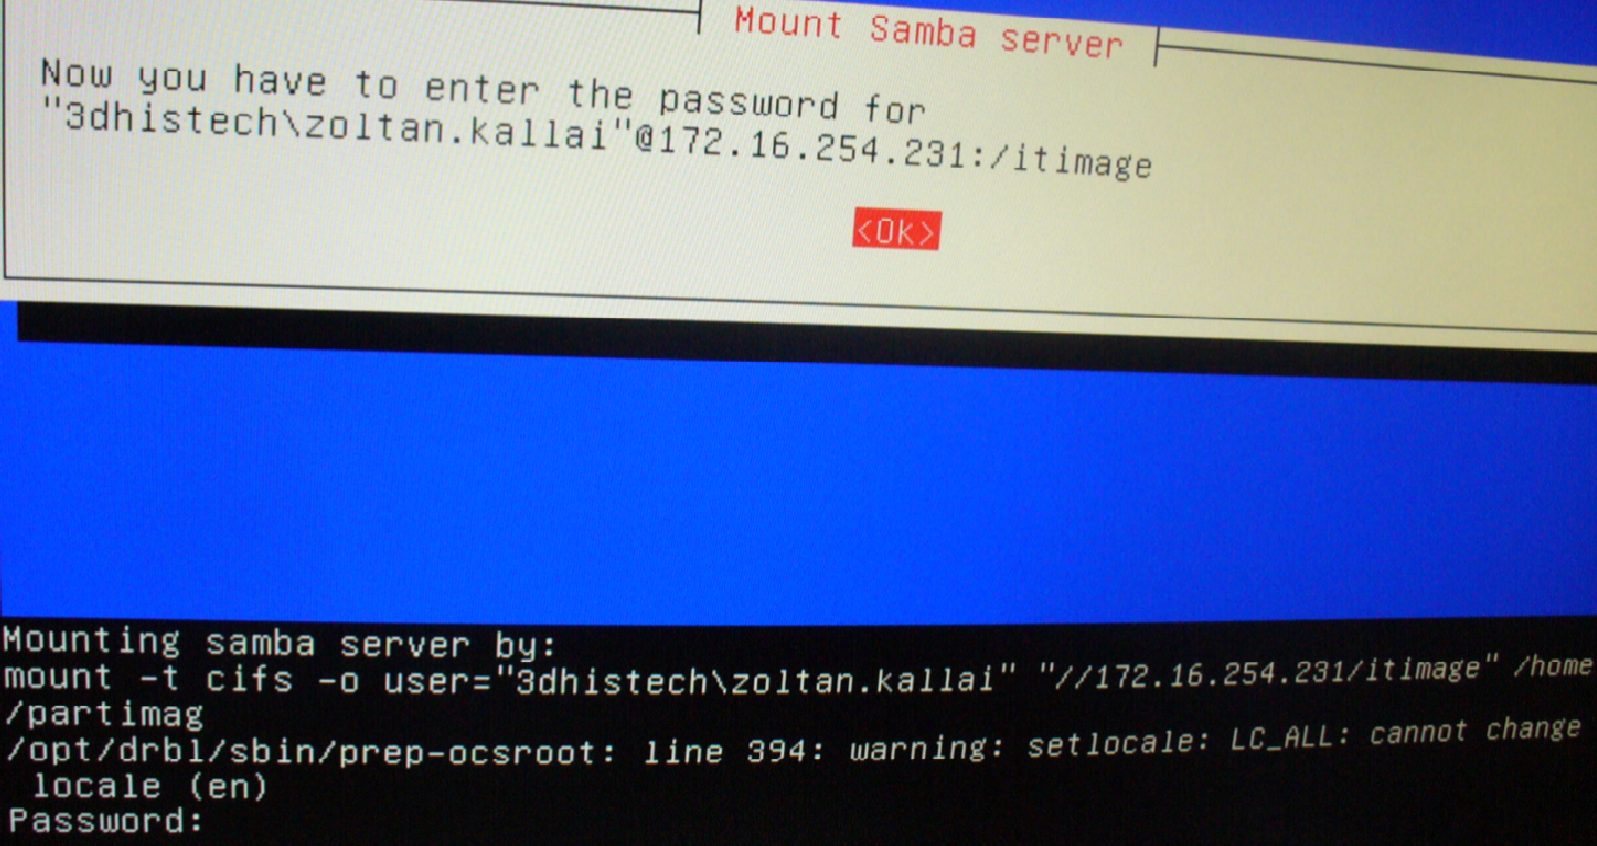
Type the password;
· The password will not
be shown, (during typing, no modifications will be seen on the screen!!)!
Press OK

Press ENTER
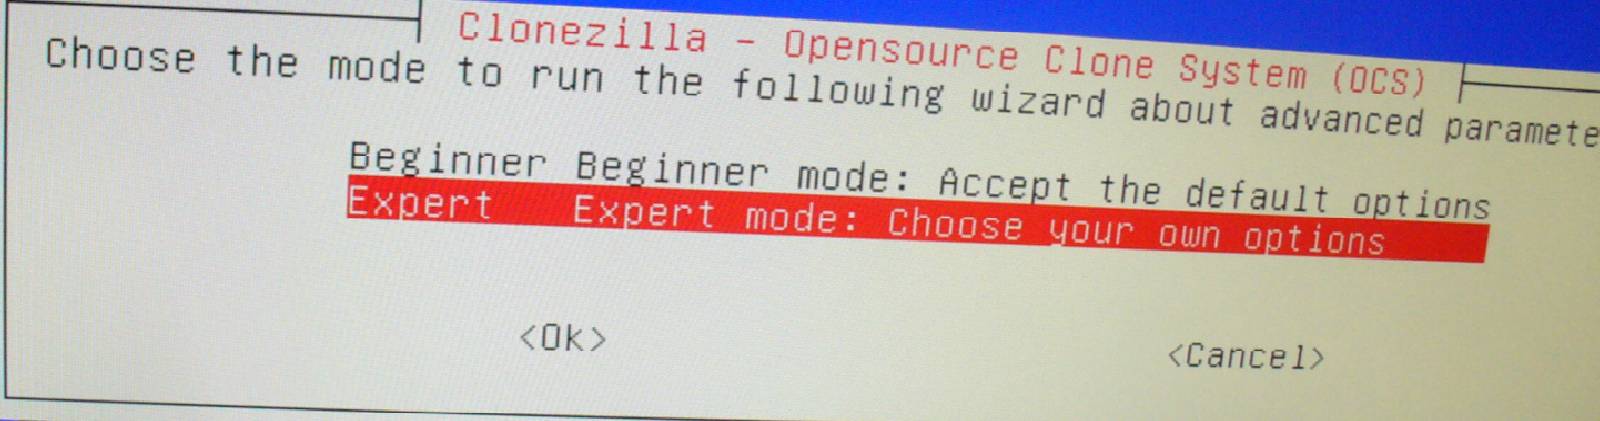
Select “Expert …”
Press OK
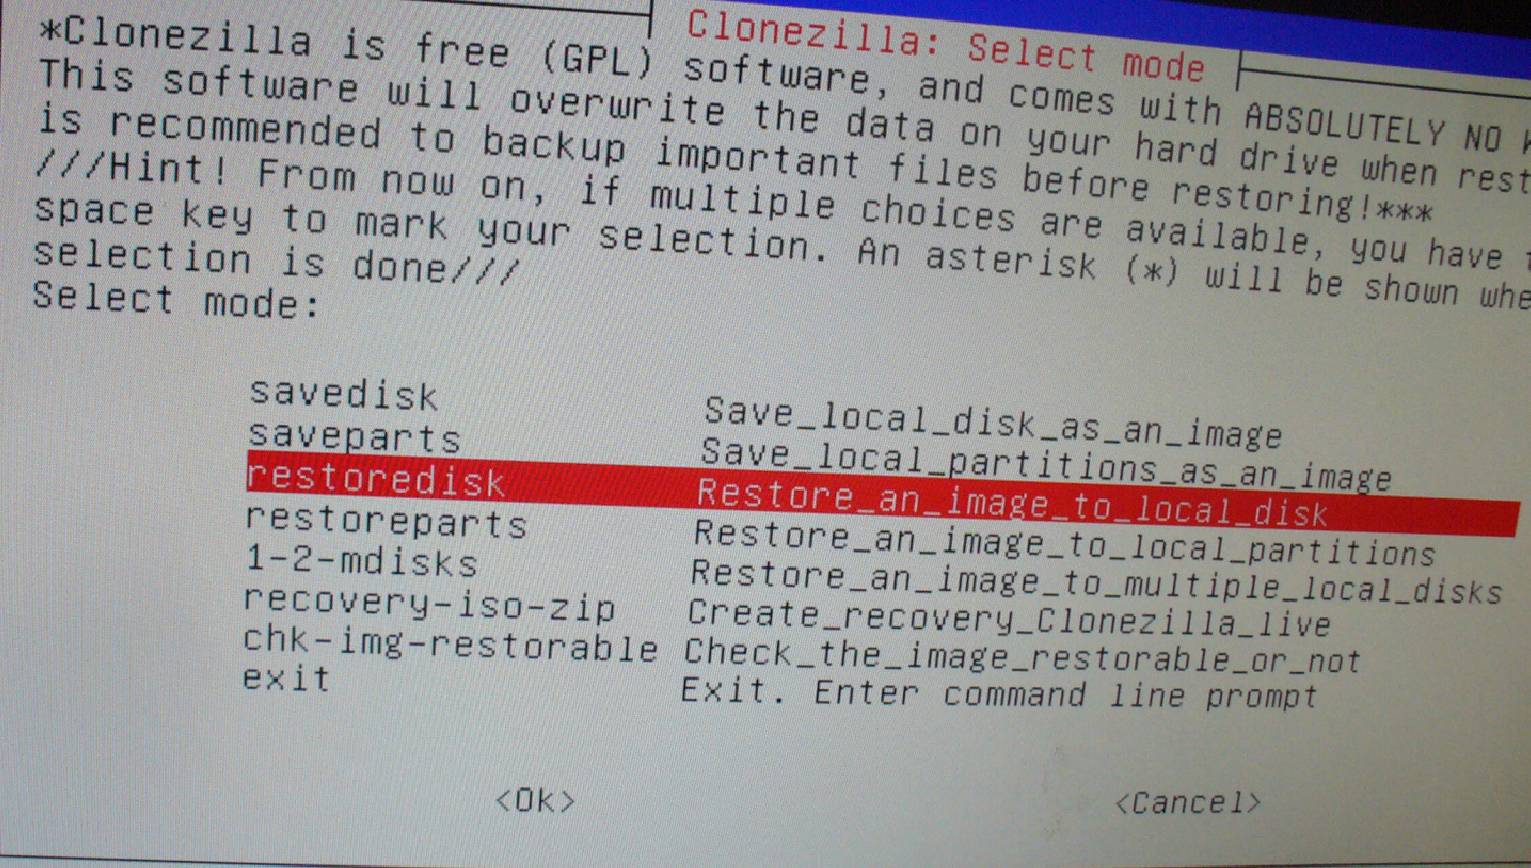
Select “restoredisk”
Press OK
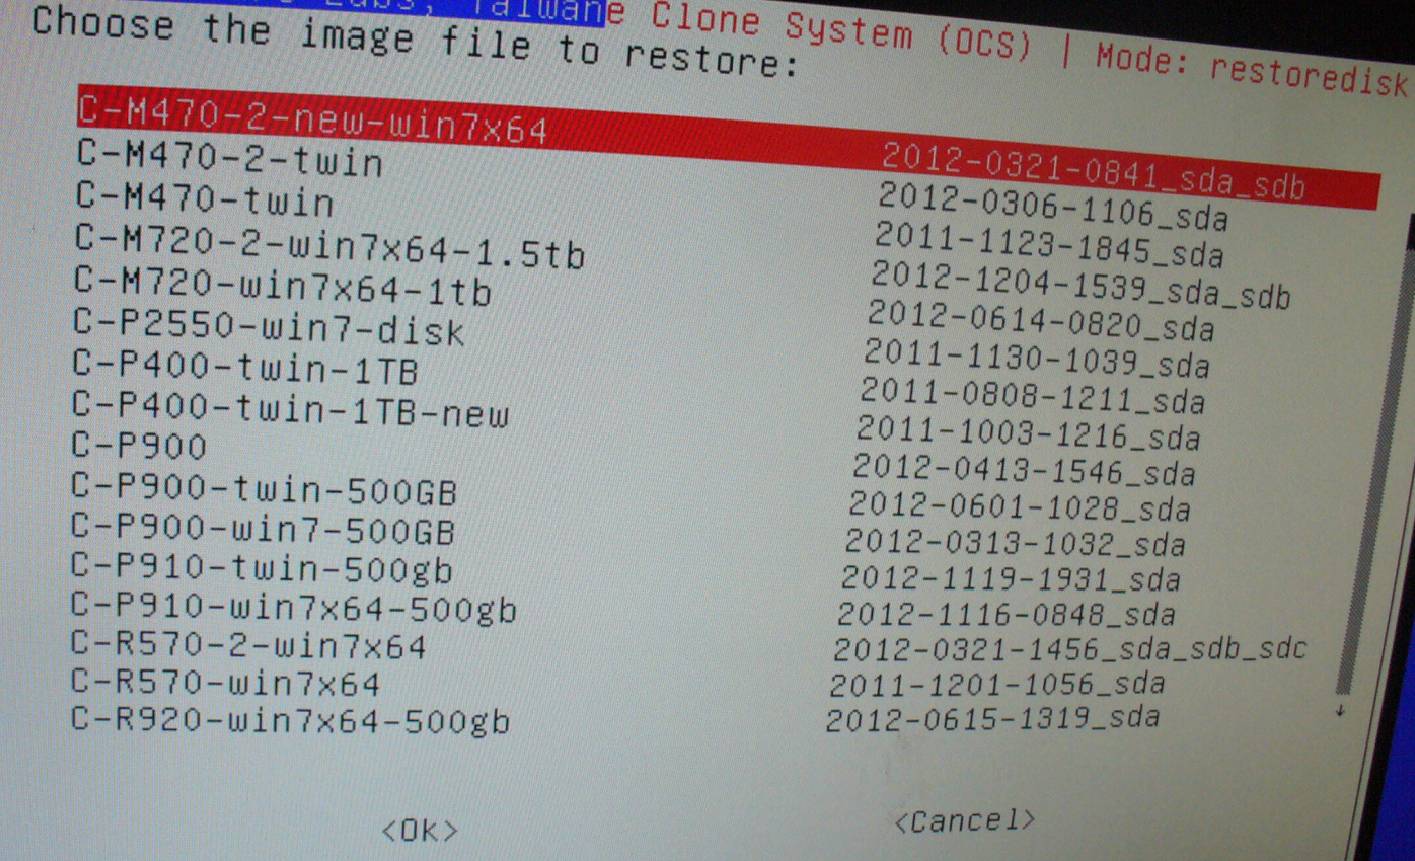
Select the image file to restore
In our example: “C-M470-2-new-win7x64”
Press OK
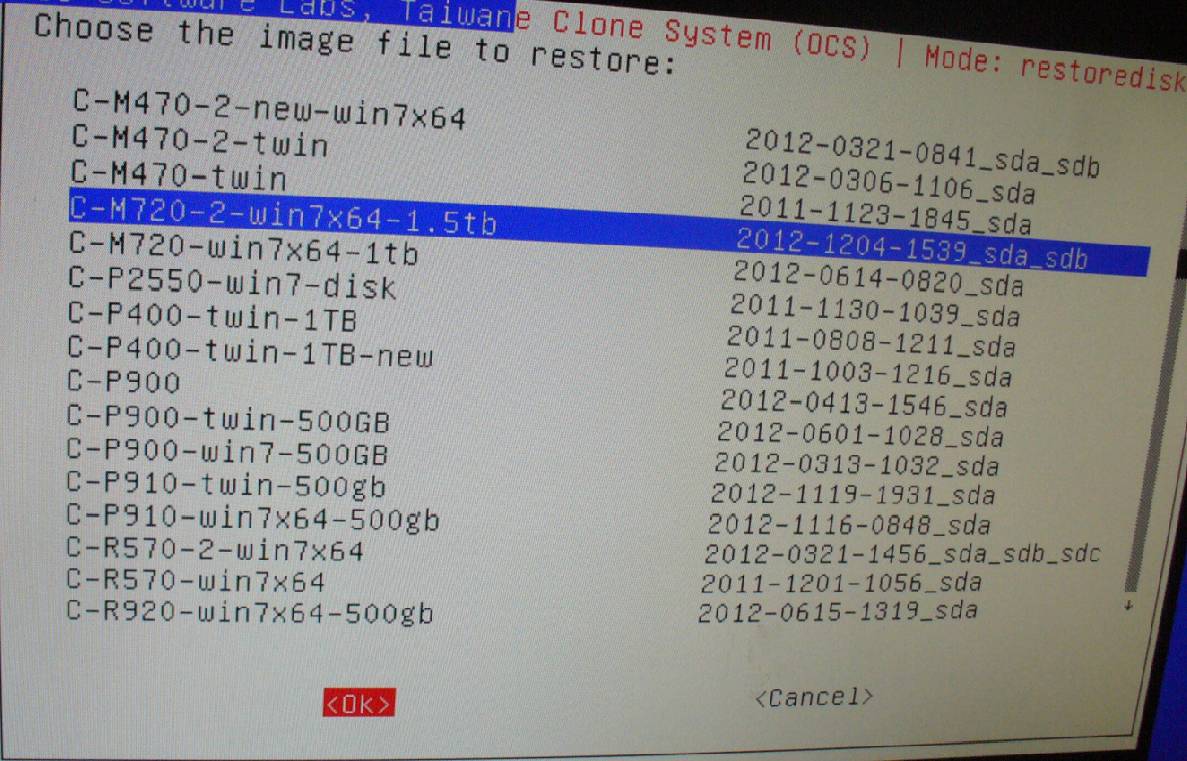
Select the image file to restore
In our example: “C-M470-2-new-win7x64”
Press OK
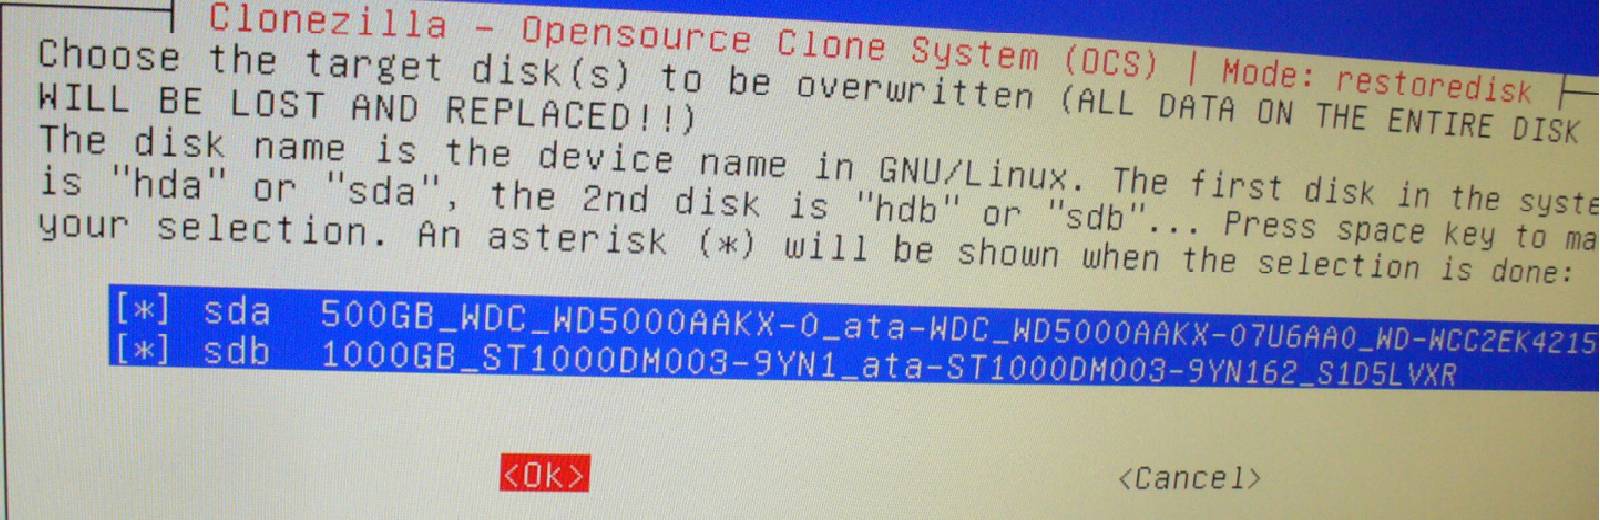
Check sda … and check sdb
…
Press OK
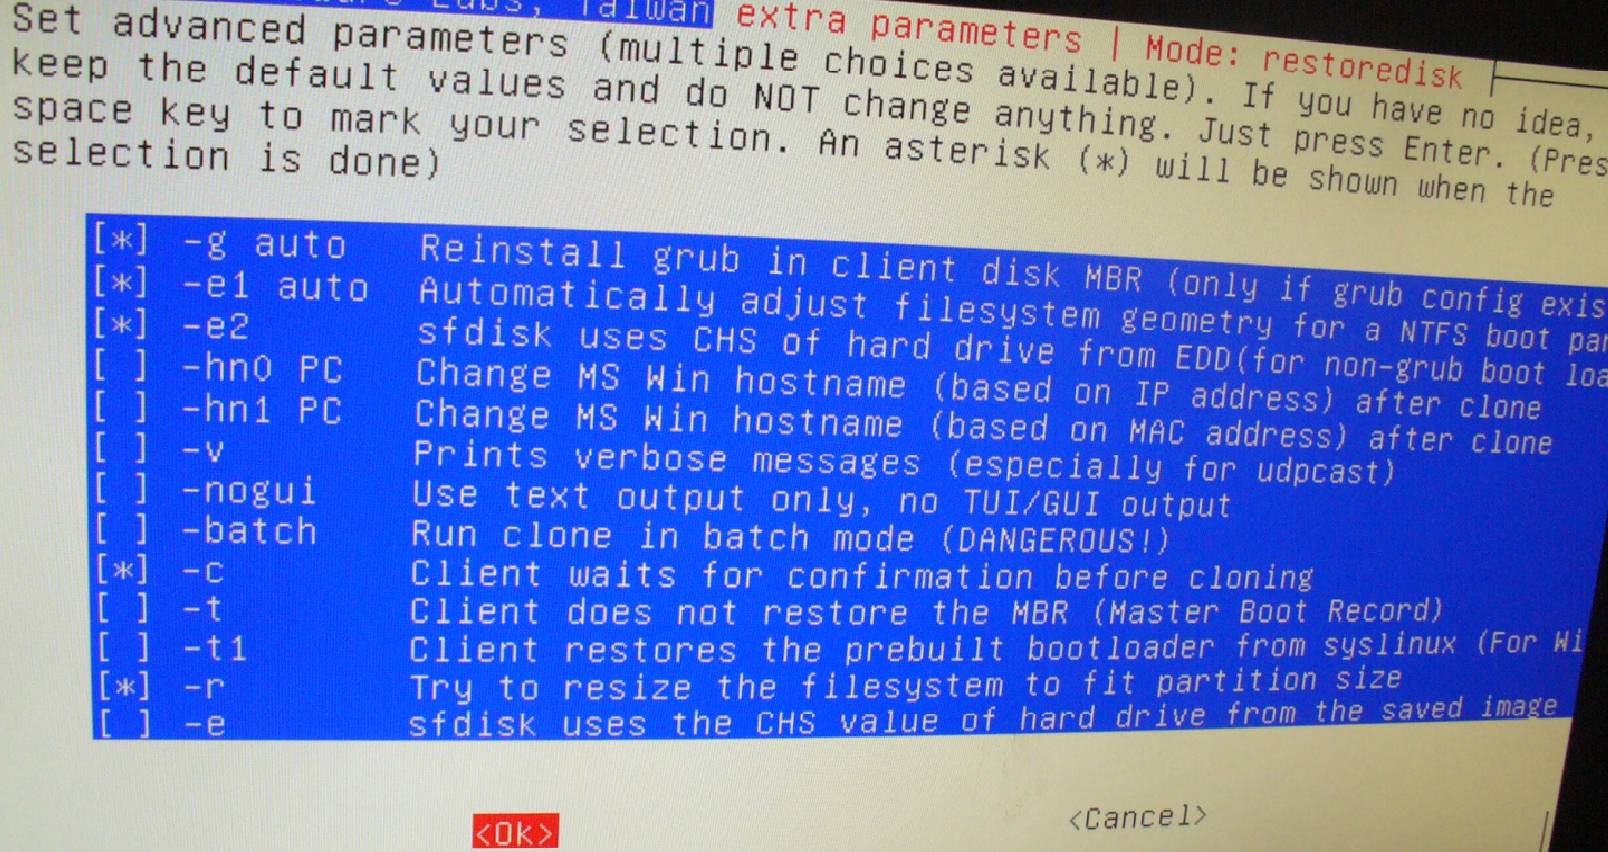
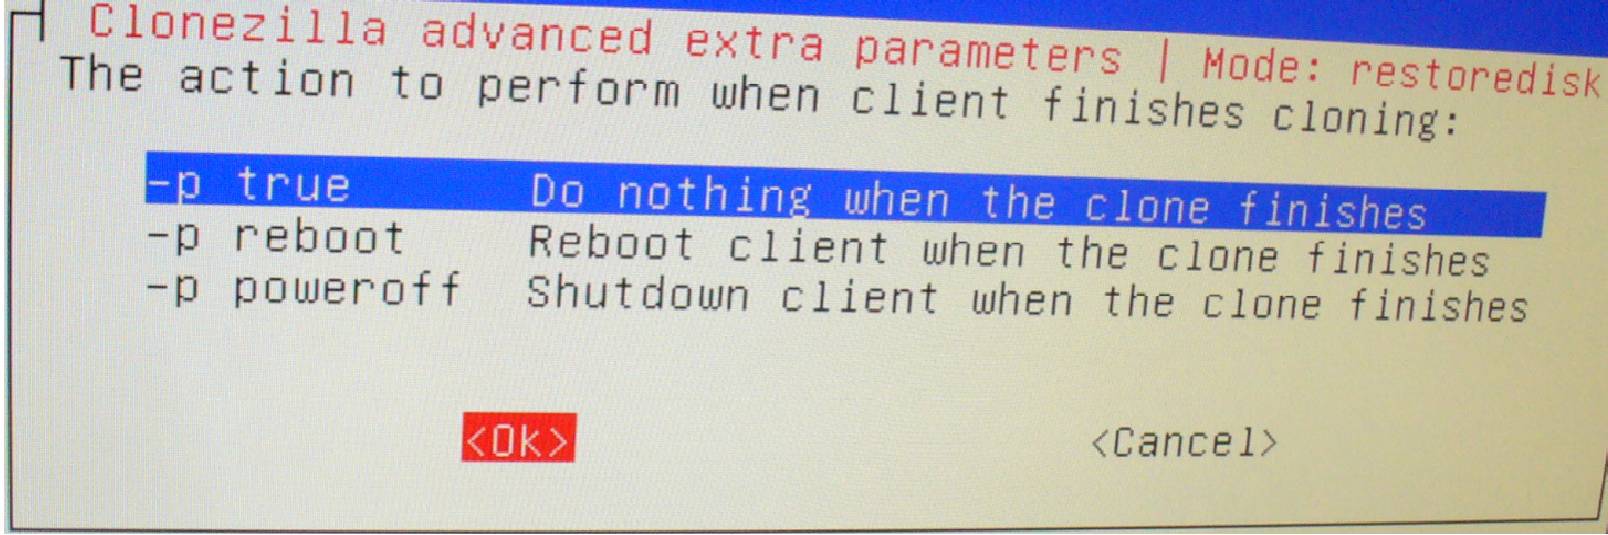
Make your selections; selected options are shown with an asterisk
Press OK

Press OK
Press OK

Press ENTER

Press “y” if the items are
correct
Press “y” if the items are
correct

Now the operating system will be cloned onto the HDD.
· The required time
is about 30minutes.

Press ENTER

If “syncing” is finished, the computer will restart.

Press F12 to enter the BIOS setup
Select “Advanced”, “SATA Mode” and
“AHCI Mode”
Exit the BIOS Setup with the option “Save and exit”
Windows will boot.
Cloning of the operating system is now finished.
End