Preview camera

This camera is used in MIRAX Scanners, developed and produced
before the year 2006. The camera delivers the preview of the slide.
Requirements
·
USB 2.0 type port on the computer
·
USB 2.0 type cable with “A” and “B” type connector
·
Install and
driver CD for Pannoramic scanners; the driver “qt841enu.exe”.
Cables and connections
The preview camera is connected to
the computer via the USB 2.0 “A” type cable header on the rear of the Pannoramic
SCAN microscope.
Install the preview camera Logitech QC 4000 Pro
Check / set the
following entries of the file “MicroscopeConfiguration.ini”:
[Microscope]
PreviewCameraType=LOGITQCPRO4000
[PreviewCamera]; the following parameter values are for
information only!
;LOGITQCPRO4000
FramePerSec=15
Brightness=64;
0...127
Contrast=30;
0...64
Saturation=0;
-100...100
Sharpness=0;
Not implemented
ColorEnabled=0; 0 or 255
BacklightCompensation=0; 0
or 255
Gamma=0; 0...31
Gain=5;
Not implemented
Shutter=114;
Not implemented
AutoCalibrate=TRUE
MaxImageBrightness=200
MaxImageBrightnessIntegral=0.99
ImageBrightnessLowerLimitRate=0.99
ImageBrightnessUpperLimitRate=1.01
Install
the driver for the preview camera Logitech
QC 4000 Pro

· The driver is
found on the install CD: <CD ROM> \Drivers\ Preview camera for earlier Pannoramic SCAN
(Logitech Quickcam)\.
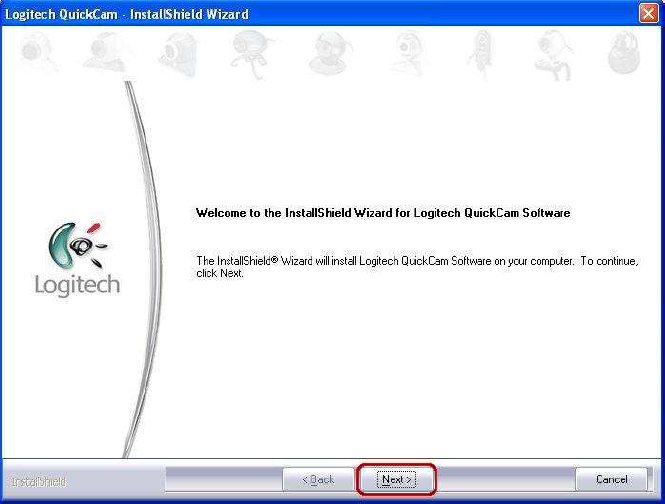
· Run the setup
application qt841enu.exe and press the „Next” button to extract the
installation files and run the installation application.
Click on the
„Next” button again to begin the installation.
Agree with the
licensing terms by selecting the „I accept the terms of the licensing agreement”
option. Press the „Next” button to continue the installation.
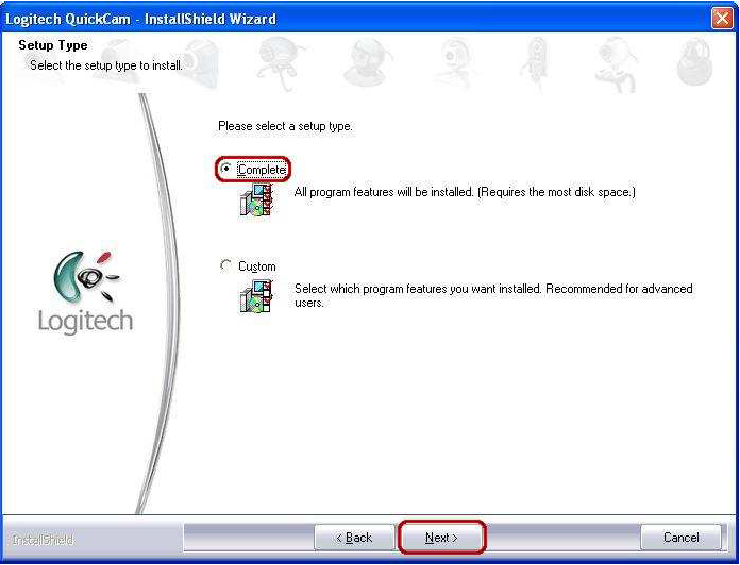 Click on the
„Complete” option and press the „Next” button.
Click on the
„Complete” option and press the „Next” button.
NOTE: By doing it the whole driver package will be installed to your
computer. It is indicative to use the complete installation feature.
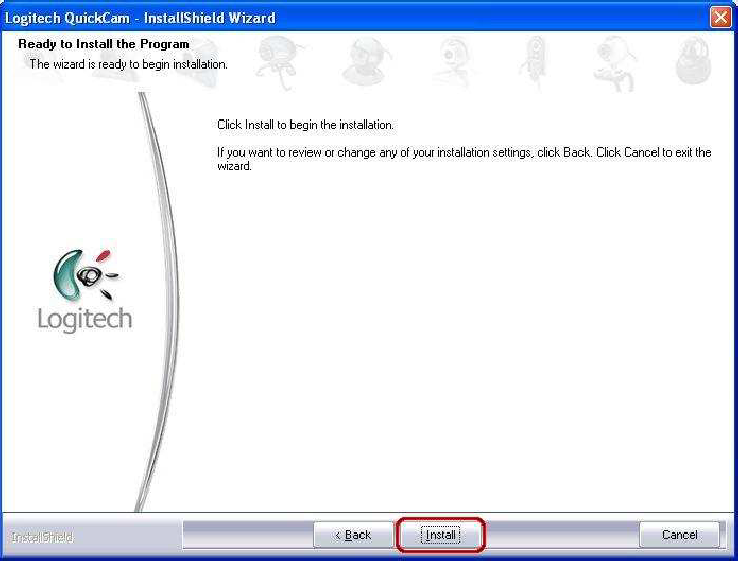
Press the
„Install” button to begin the installation of the driver package.
During the
installation process you will see the activities of the driver installation.
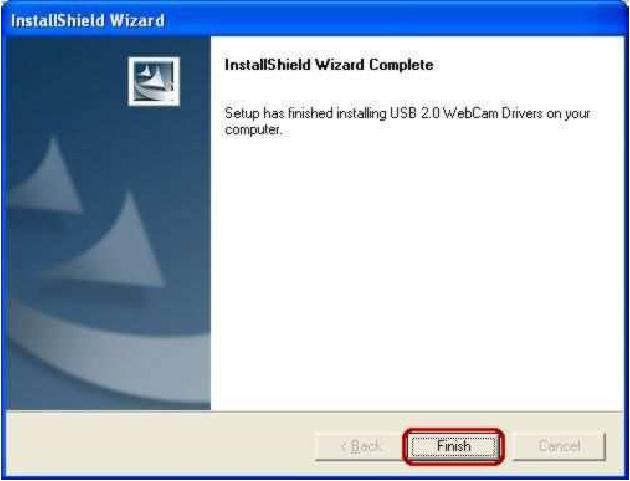
Wait until the installation completes and you can see the following dialog.
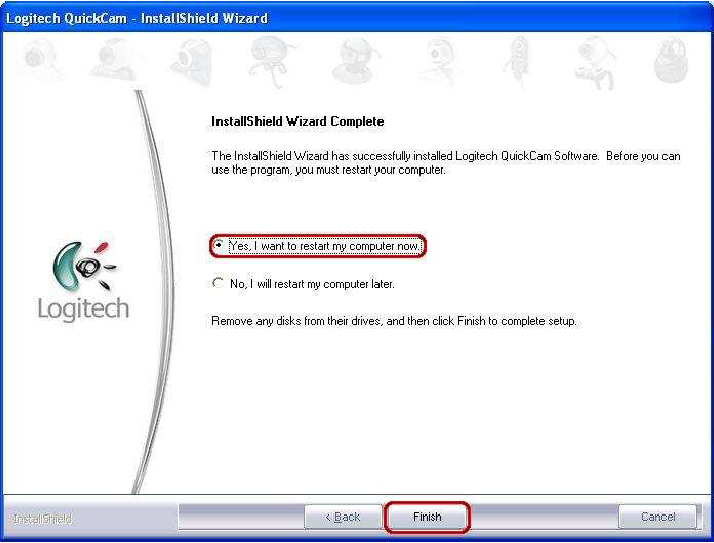
The installation was
completed. You have to restart your computer to take affect on changes. Select
the „Yes, I want to restart my computer now.” option and press the „Finish”
button to restart the system.
If the system is restarted
you can connect your preview camera. You are ready to use Mirax Scan.
Preview
camera ADS USB Turbo 2.0 Webcam
 This camera is used in the first microscopes, developed
and produced in the early years of 2000. The camera delivers the preview of the
slide.
This camera is used in the first microscopes, developed
and produced in the early years of 2000. The camera delivers the preview of the
slide.
· USB 2.0 Desktop
Camera
· 1/3” optical
format
· Resolution: 640 x
480 max.
· Speed: 30 fps max.
·
Interface: USB 2.0 / Hi-speed
Requirements
·
USB 2.0 type port on the computer
·
USB 2.0 type cable with “A” and “B” type header
·
Install and
driver CD for Pannoramic scanners; the driver program “ADSv301.exe”.
Cables and connections
The preview camera is connected to the
computer via the USB 2.0 “A” type cable header on the rear of the Pannoramic
SCAN microscope.
Check or modify the
following entries of the file “MicroscopeConfiguration.ini”:
[Microscope]
PreviewCameraType= ISPQUSB20
[PreviewCamera]; the following parameter values are for
information only!
;ISPQUSB20
FramePerSec=30
Brightness=100
Contrast=30
Saturation=128
Sharpness=0
ColorEnabled=0
BacklightCompensation=0
Gamma=0
Gain=5
WhiteBallance_V=128
WhiteBallance_U=128
Shutter=114

Install the driver for the preview camera ADS USB Turbo 2.0 Webcam
Start the setup
application ADSv301.exe from the applications folder. If the preview camera is already connected please unplug it now.
Press the „Next” button
to continue the installation.
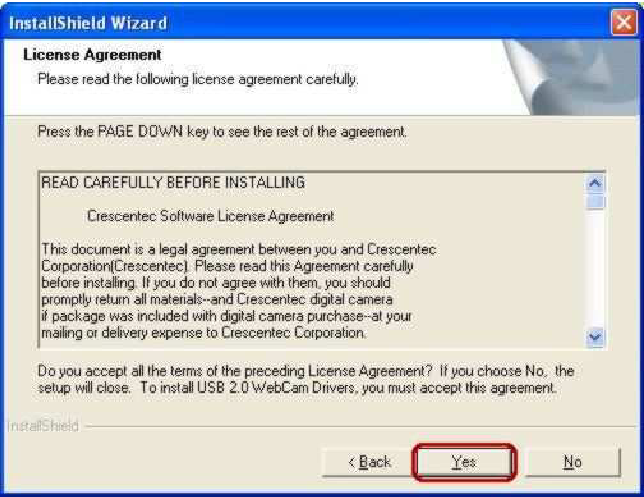
Agree the license
agreement by clicking on „Yes” and the installation continues.
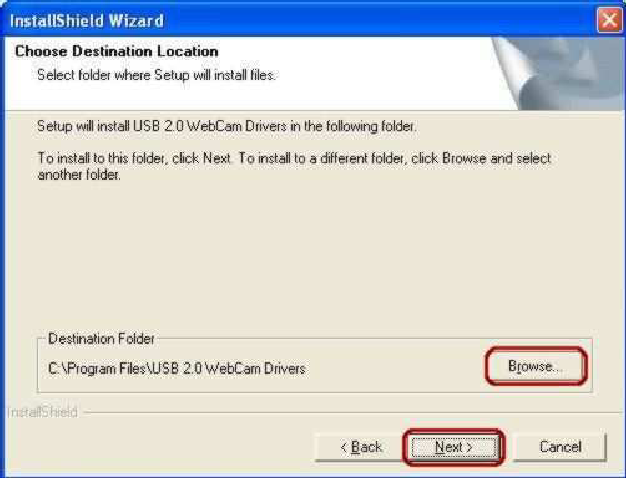
To modify the installation path click on „Browse” and select the folder
where you want to install the driver.
Press the „Next”
button to continue the installation.
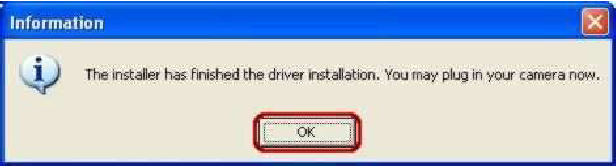
Please connect the
preview camera to the USB port, then press “OK”.
Installation completed.
You are ready to use the preview camera.
END